//
// AppDelegate.swift
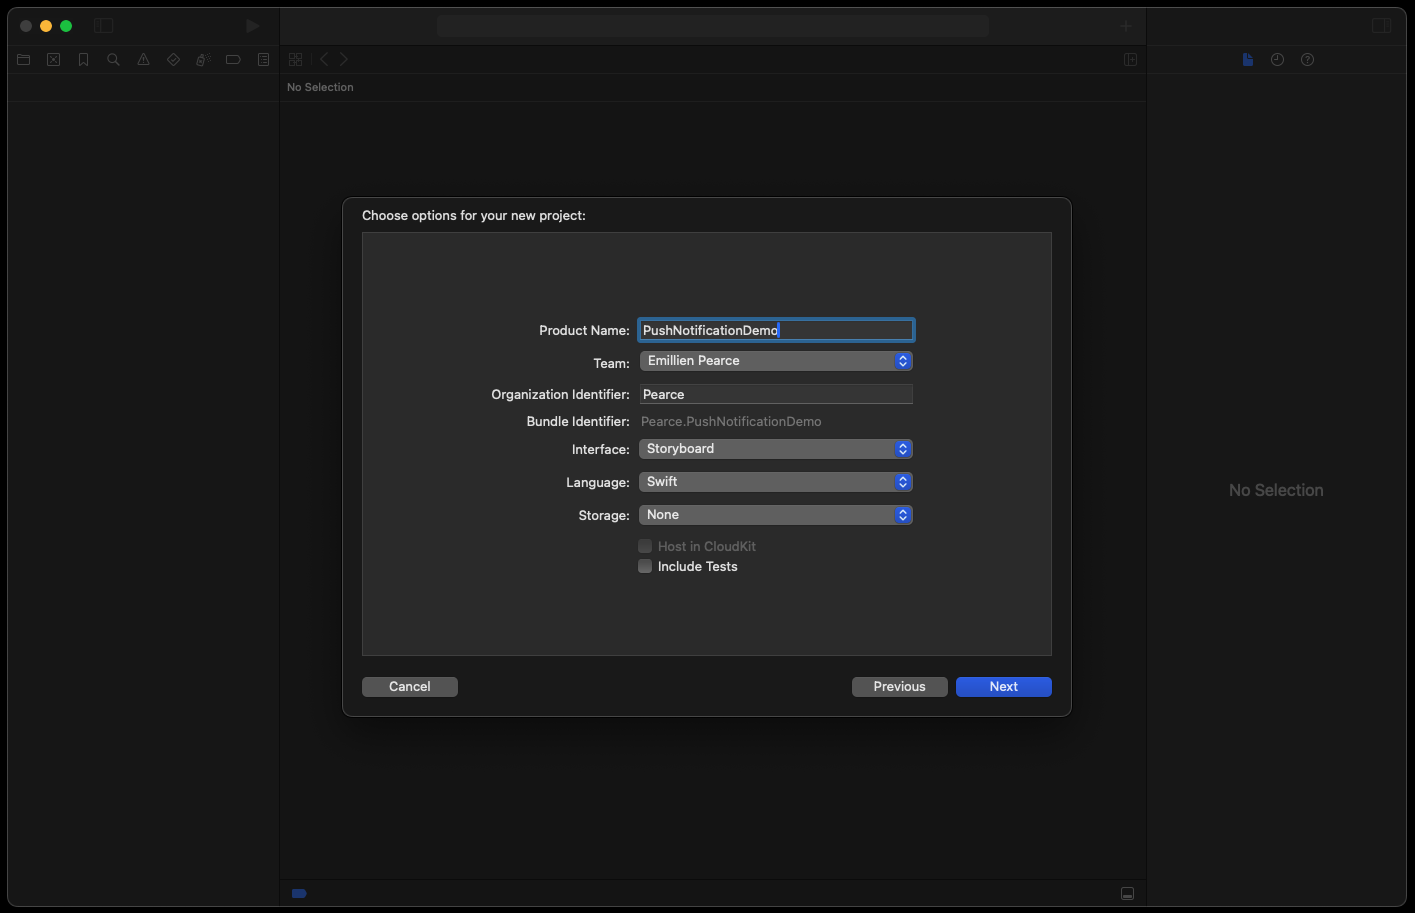
// PushNotificationDemo
//
// Created by Emillien Pearce.
//
import UIKit
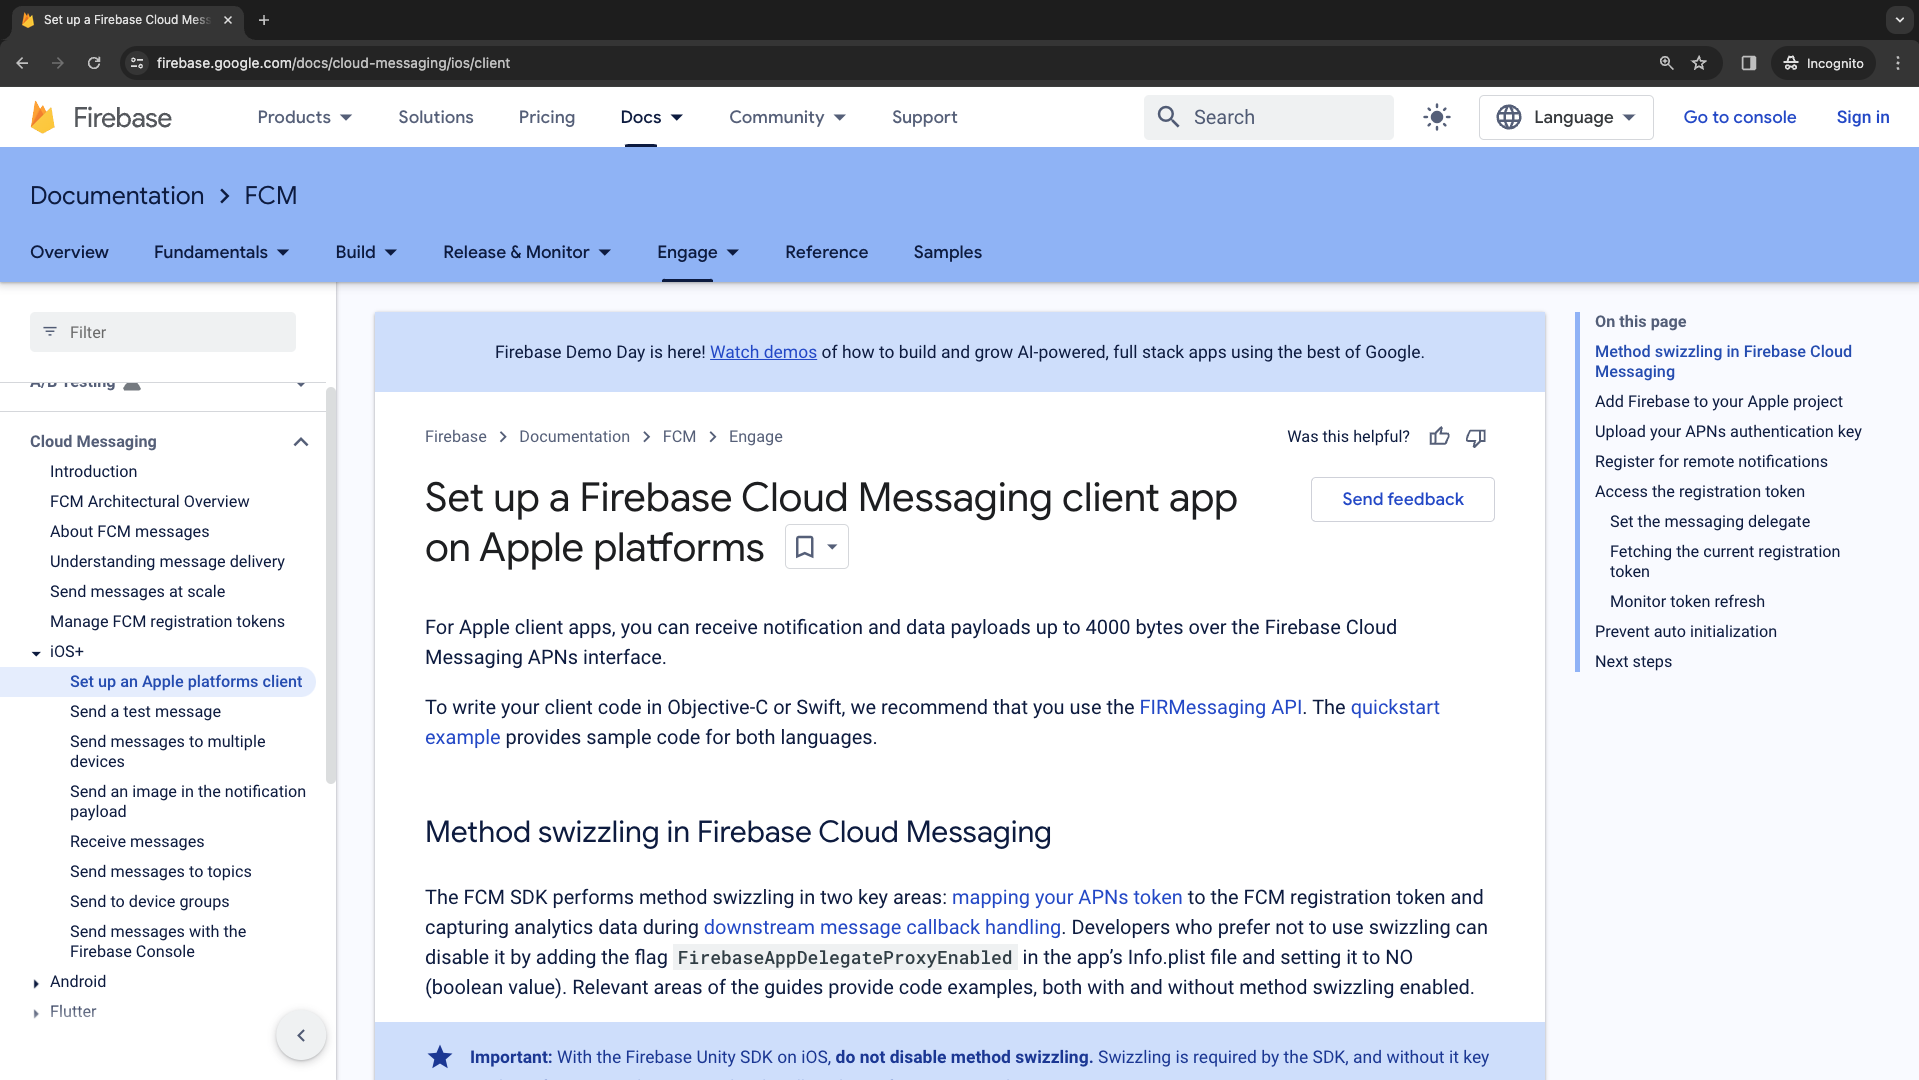
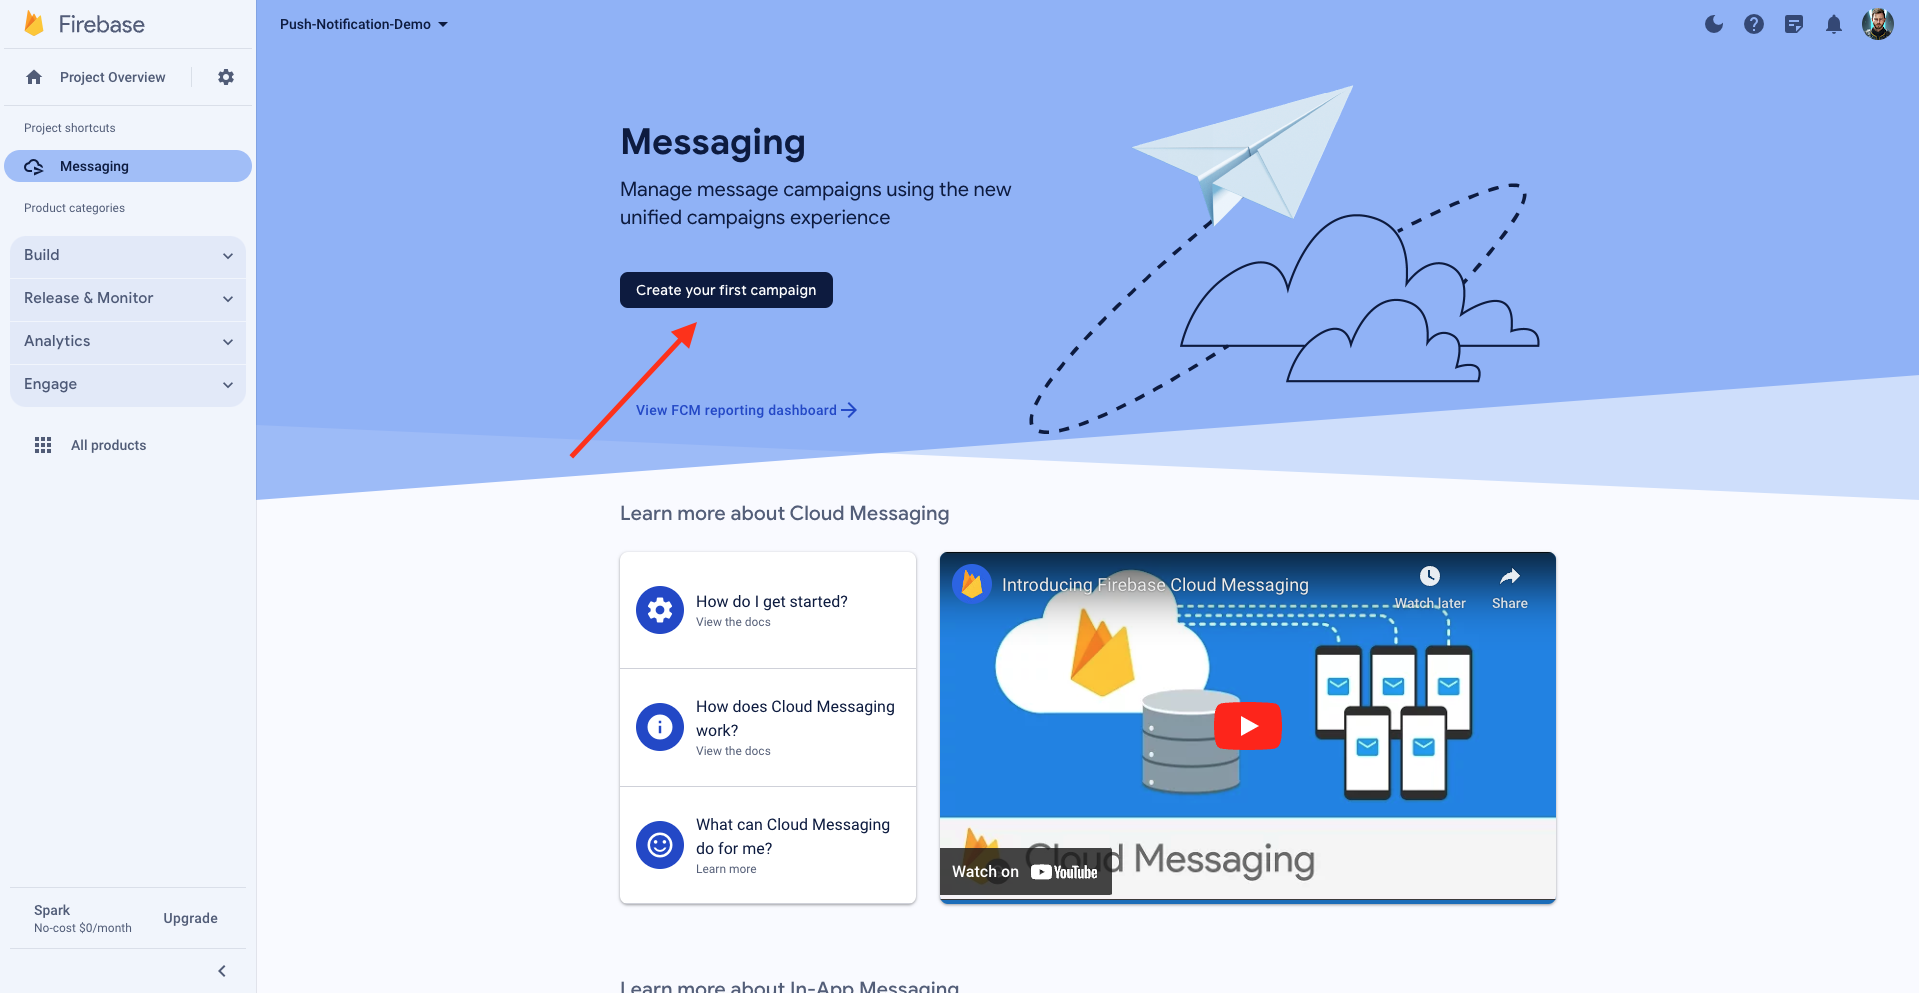
import FirebaseCore
import FirebaseMessaging
@main
class AppDelegate: UIResponder, UIApplicationDelegate {
let gcmMessageIDKey = "gcm.Message_ID"
func application(_ application: UIApplication, didFinishLaunchingWithOptions launchOptions: [UIApplication.LaunchOptionsKey: Any]?) -> Bool {
// Override point for customization after application launch.
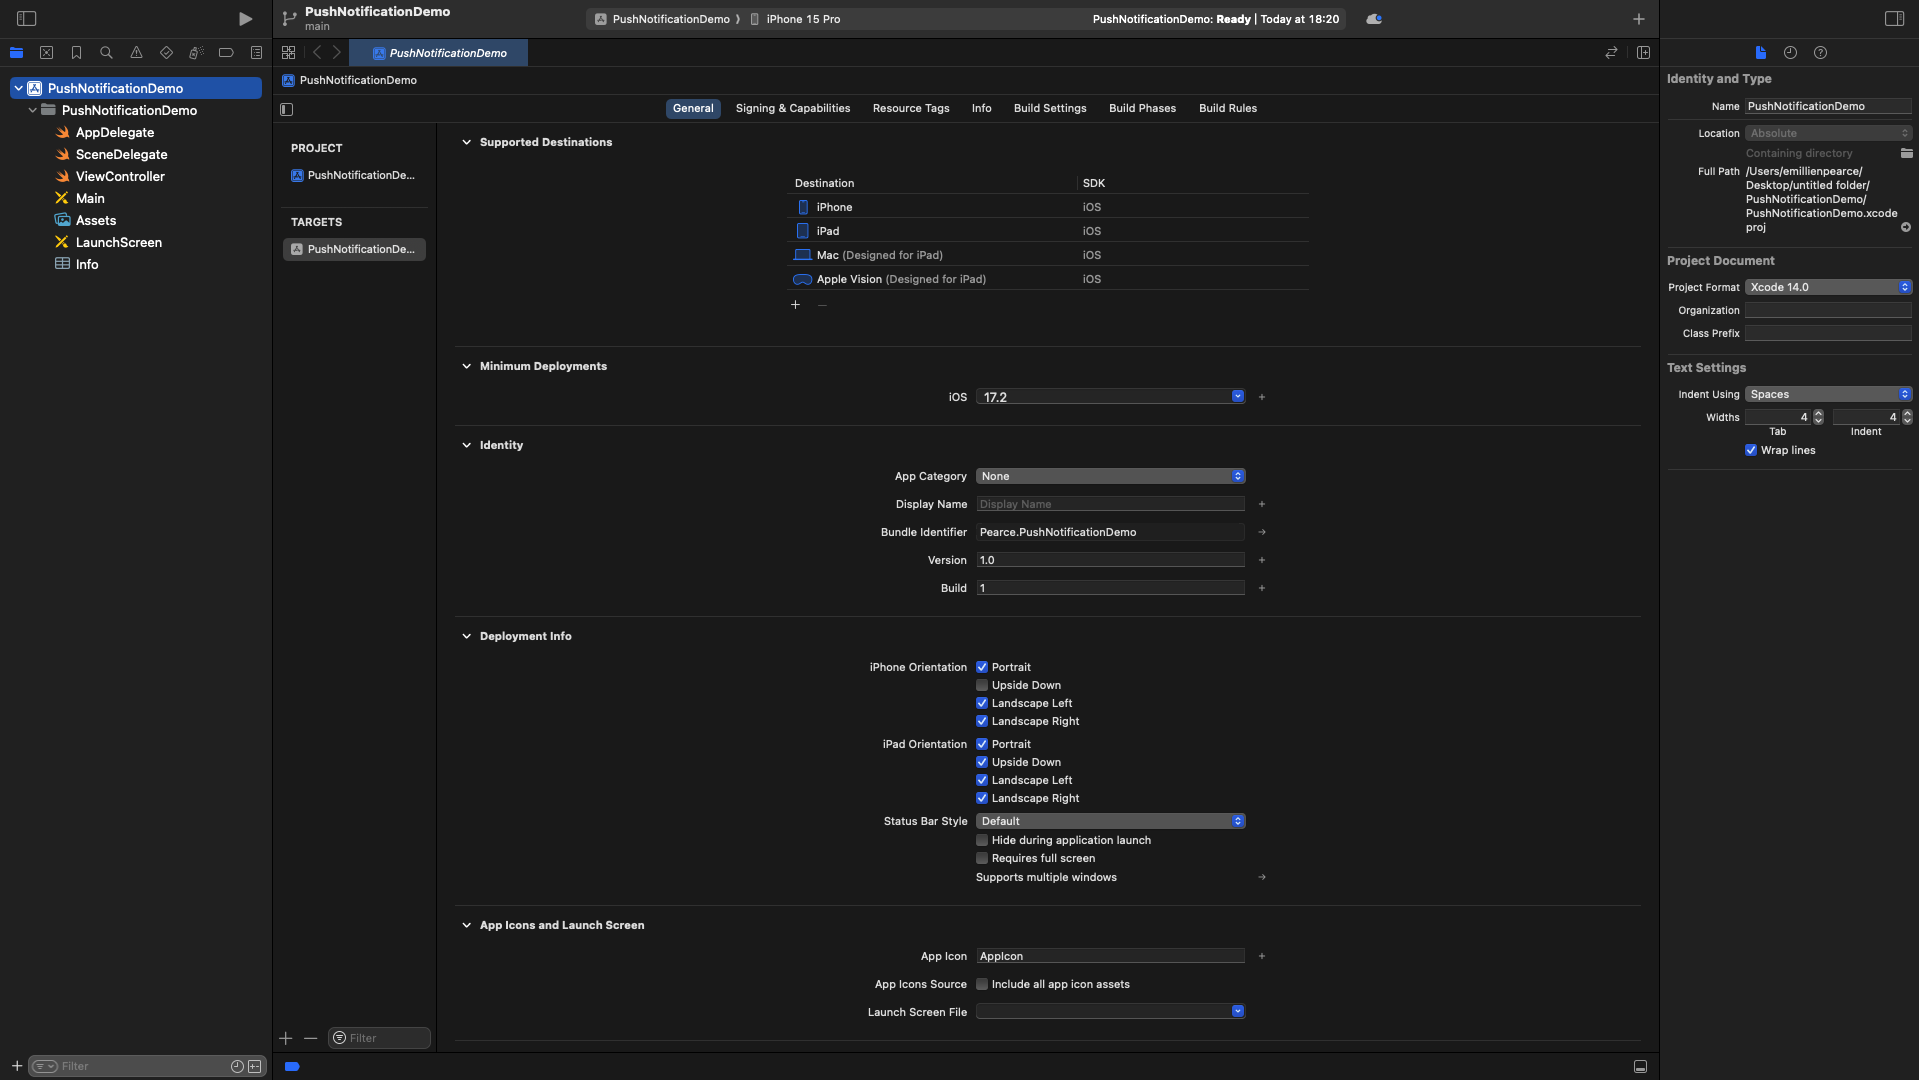
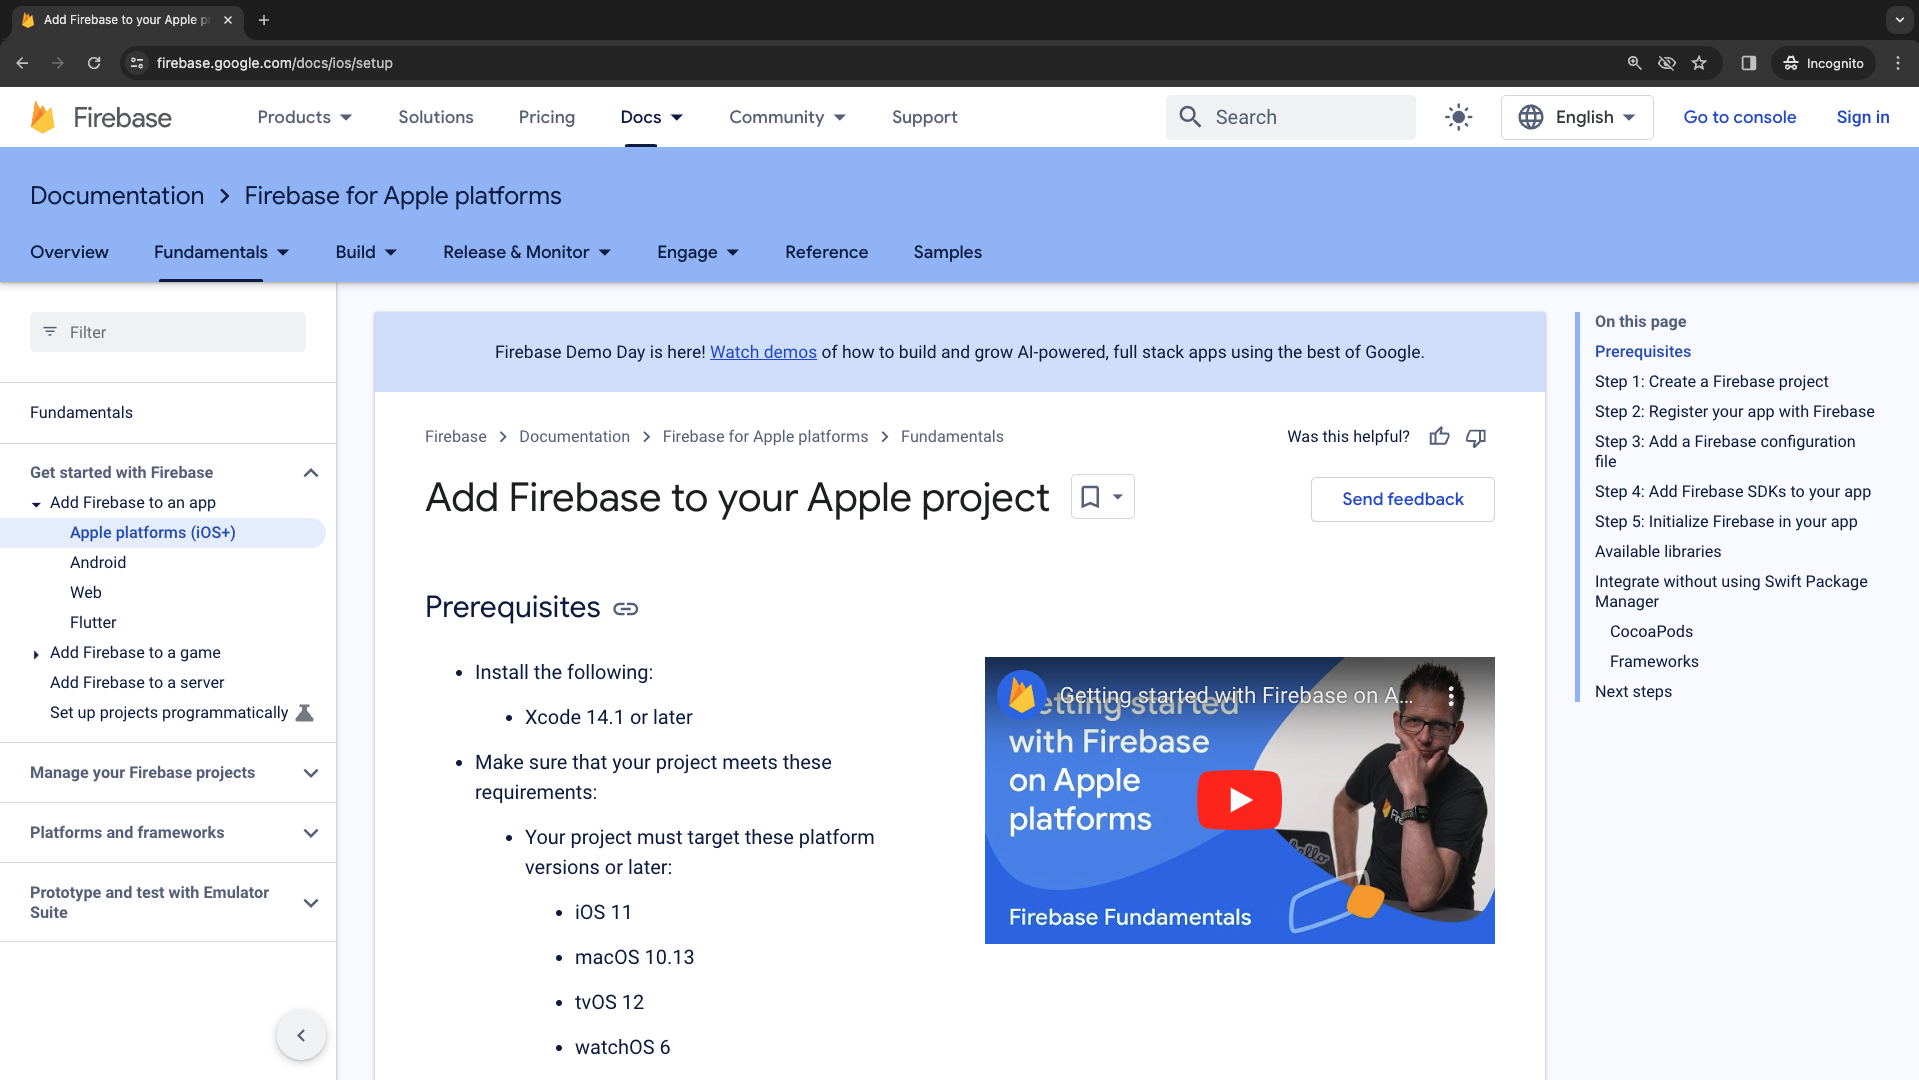
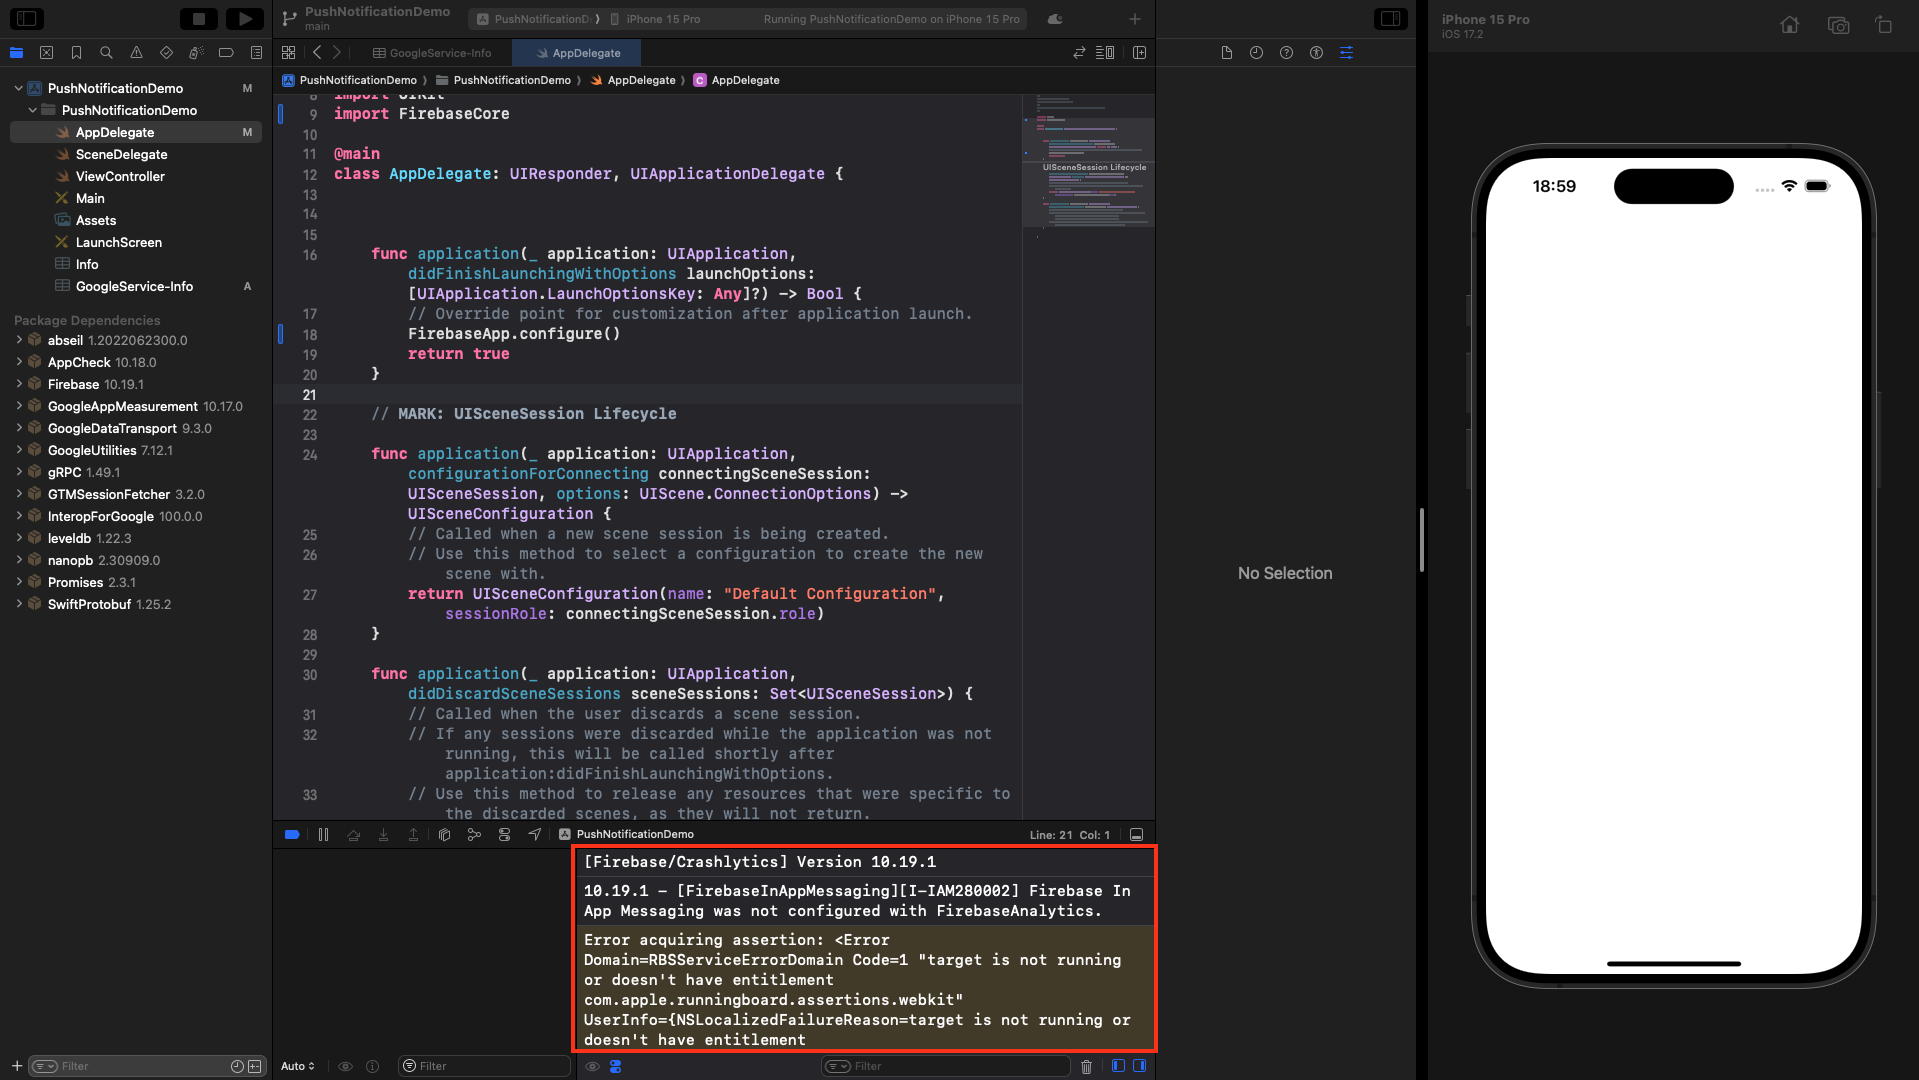
FirebaseApp.configure()
FirebaseConfiguration.shared.setLoggerLevel(.min)
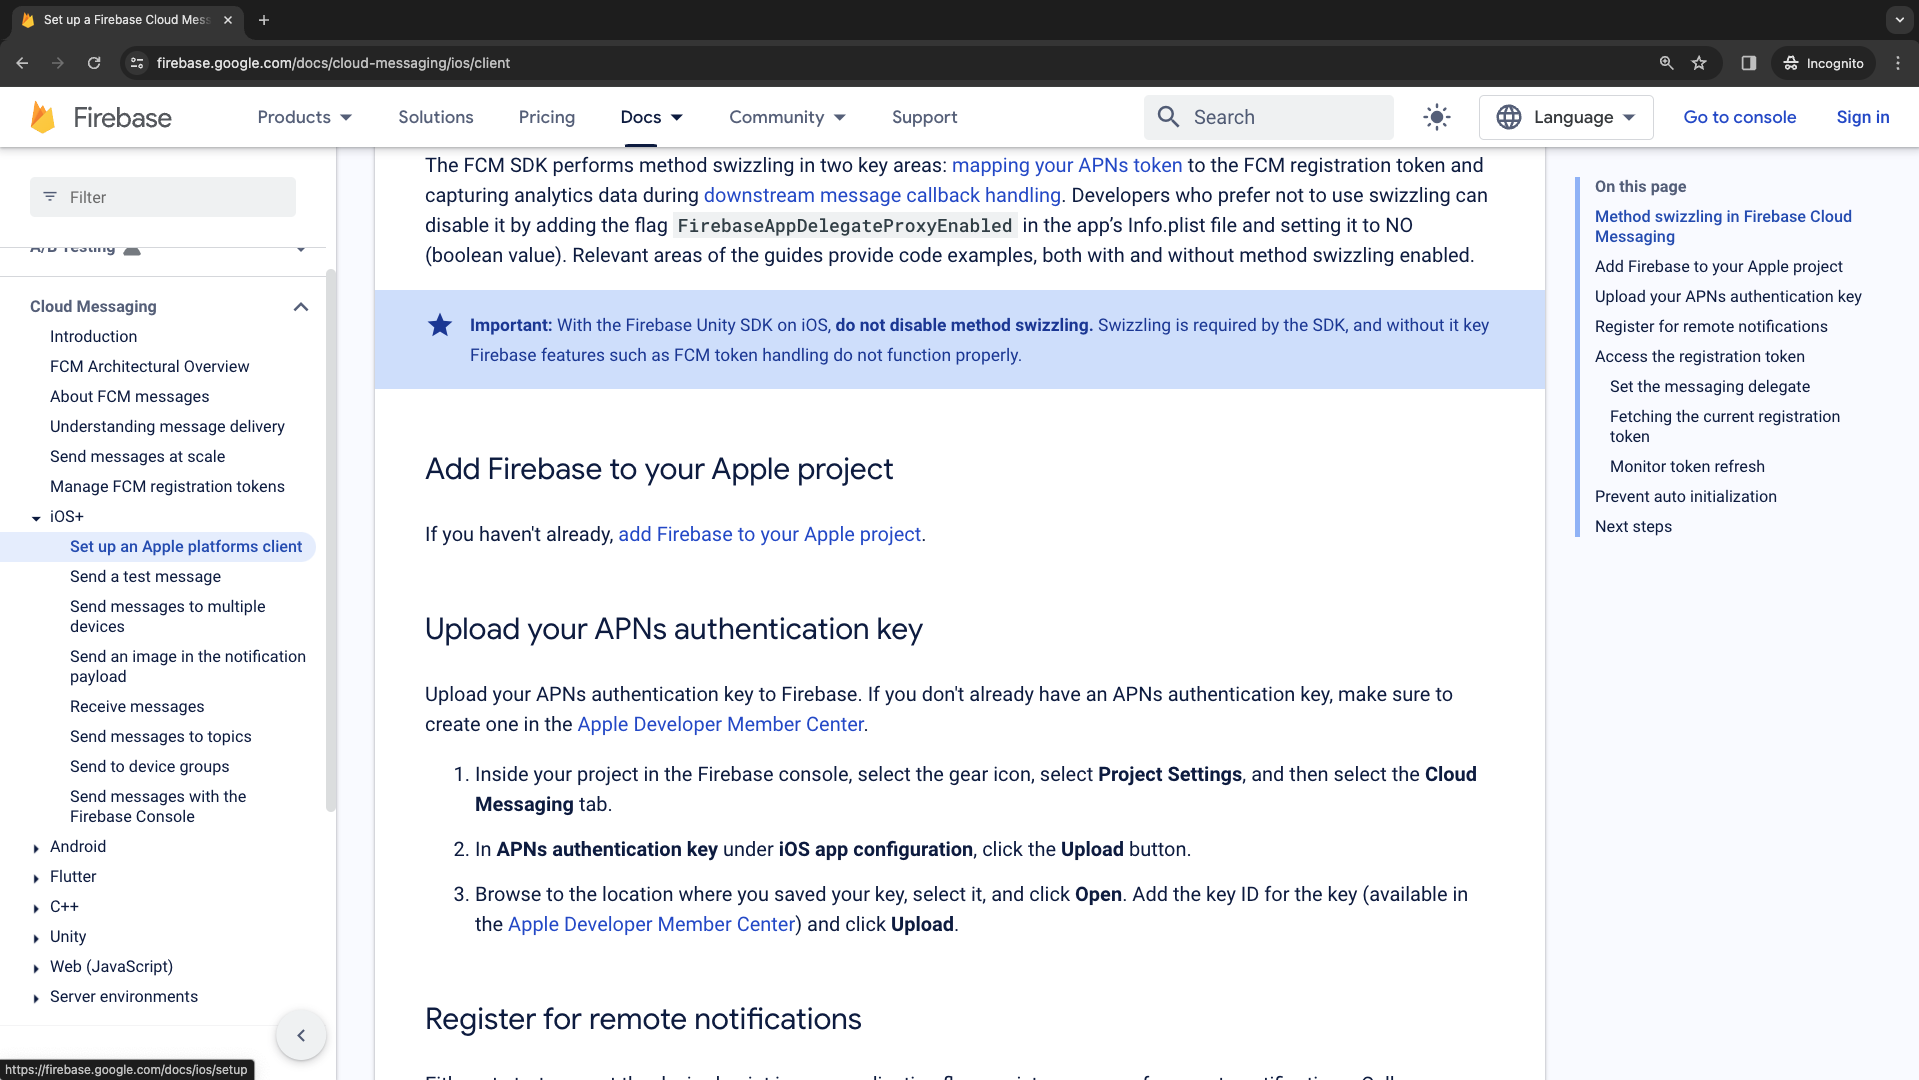
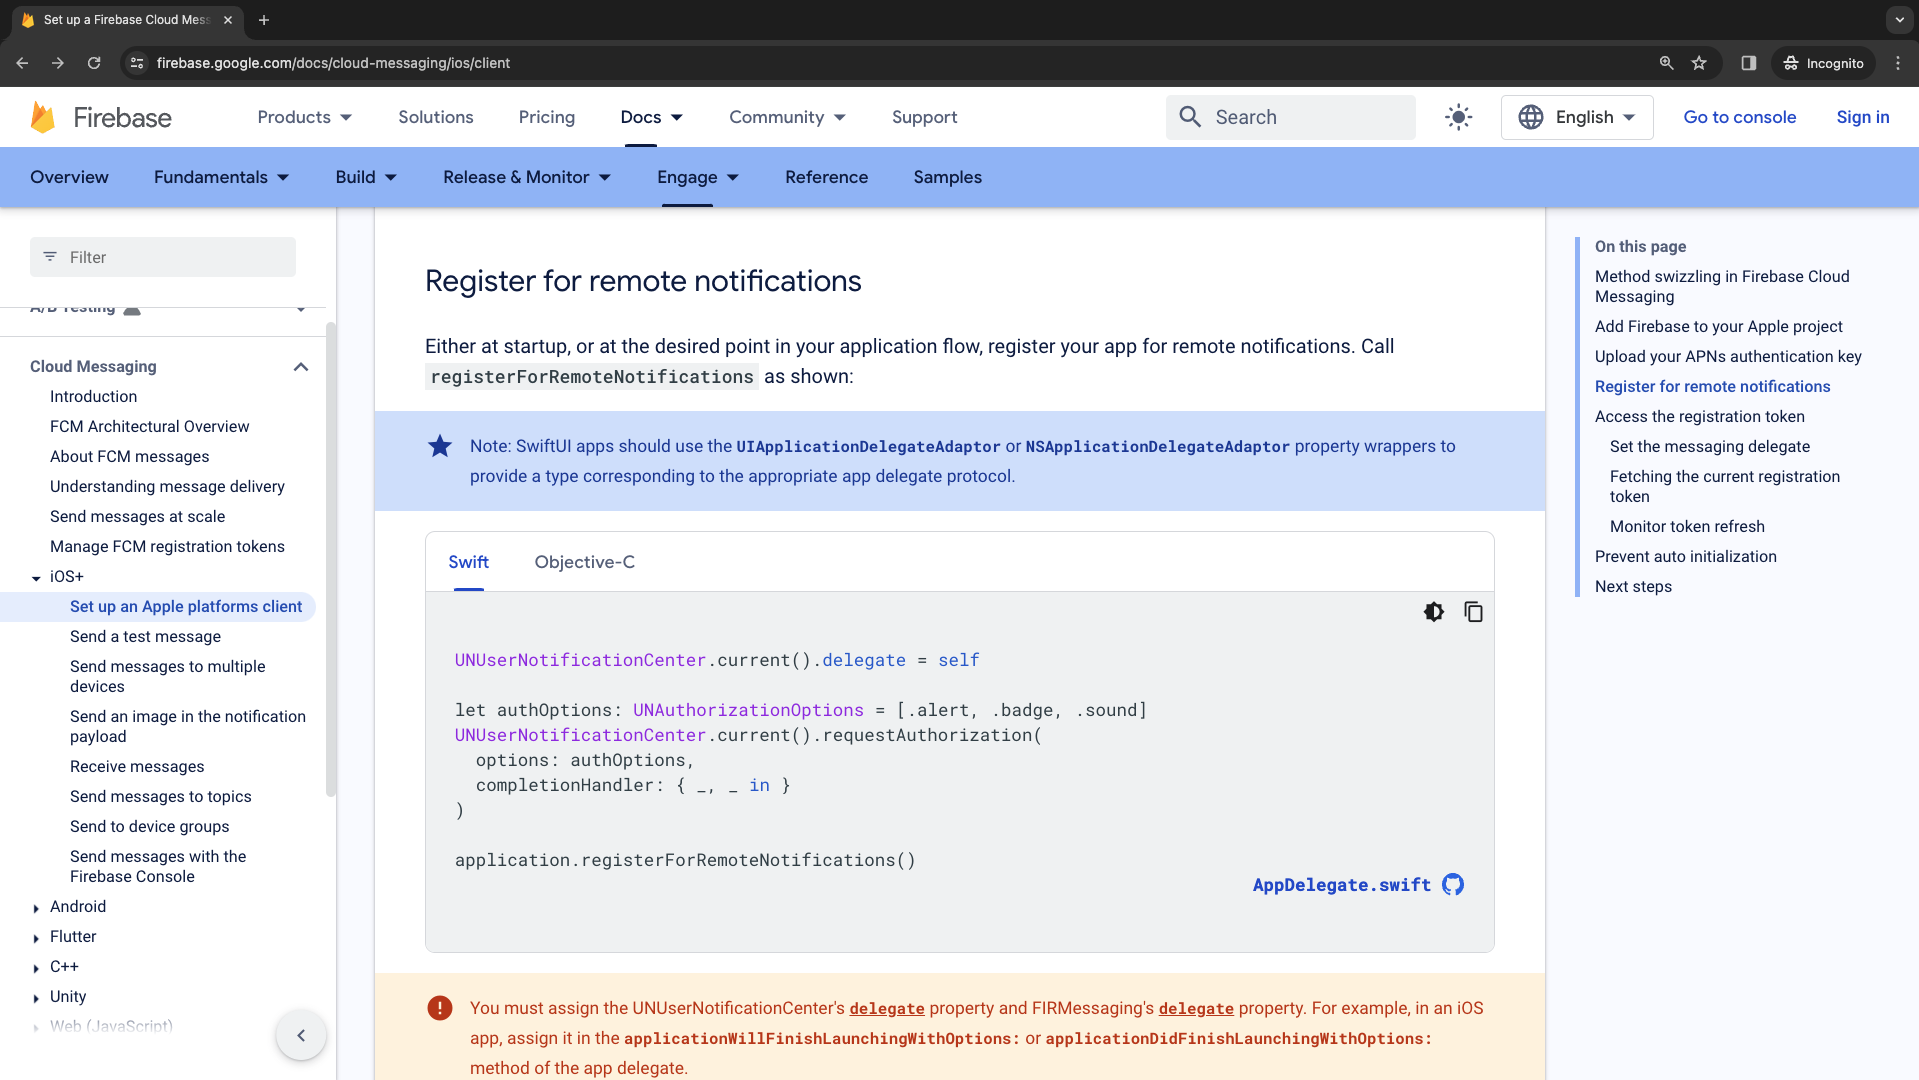
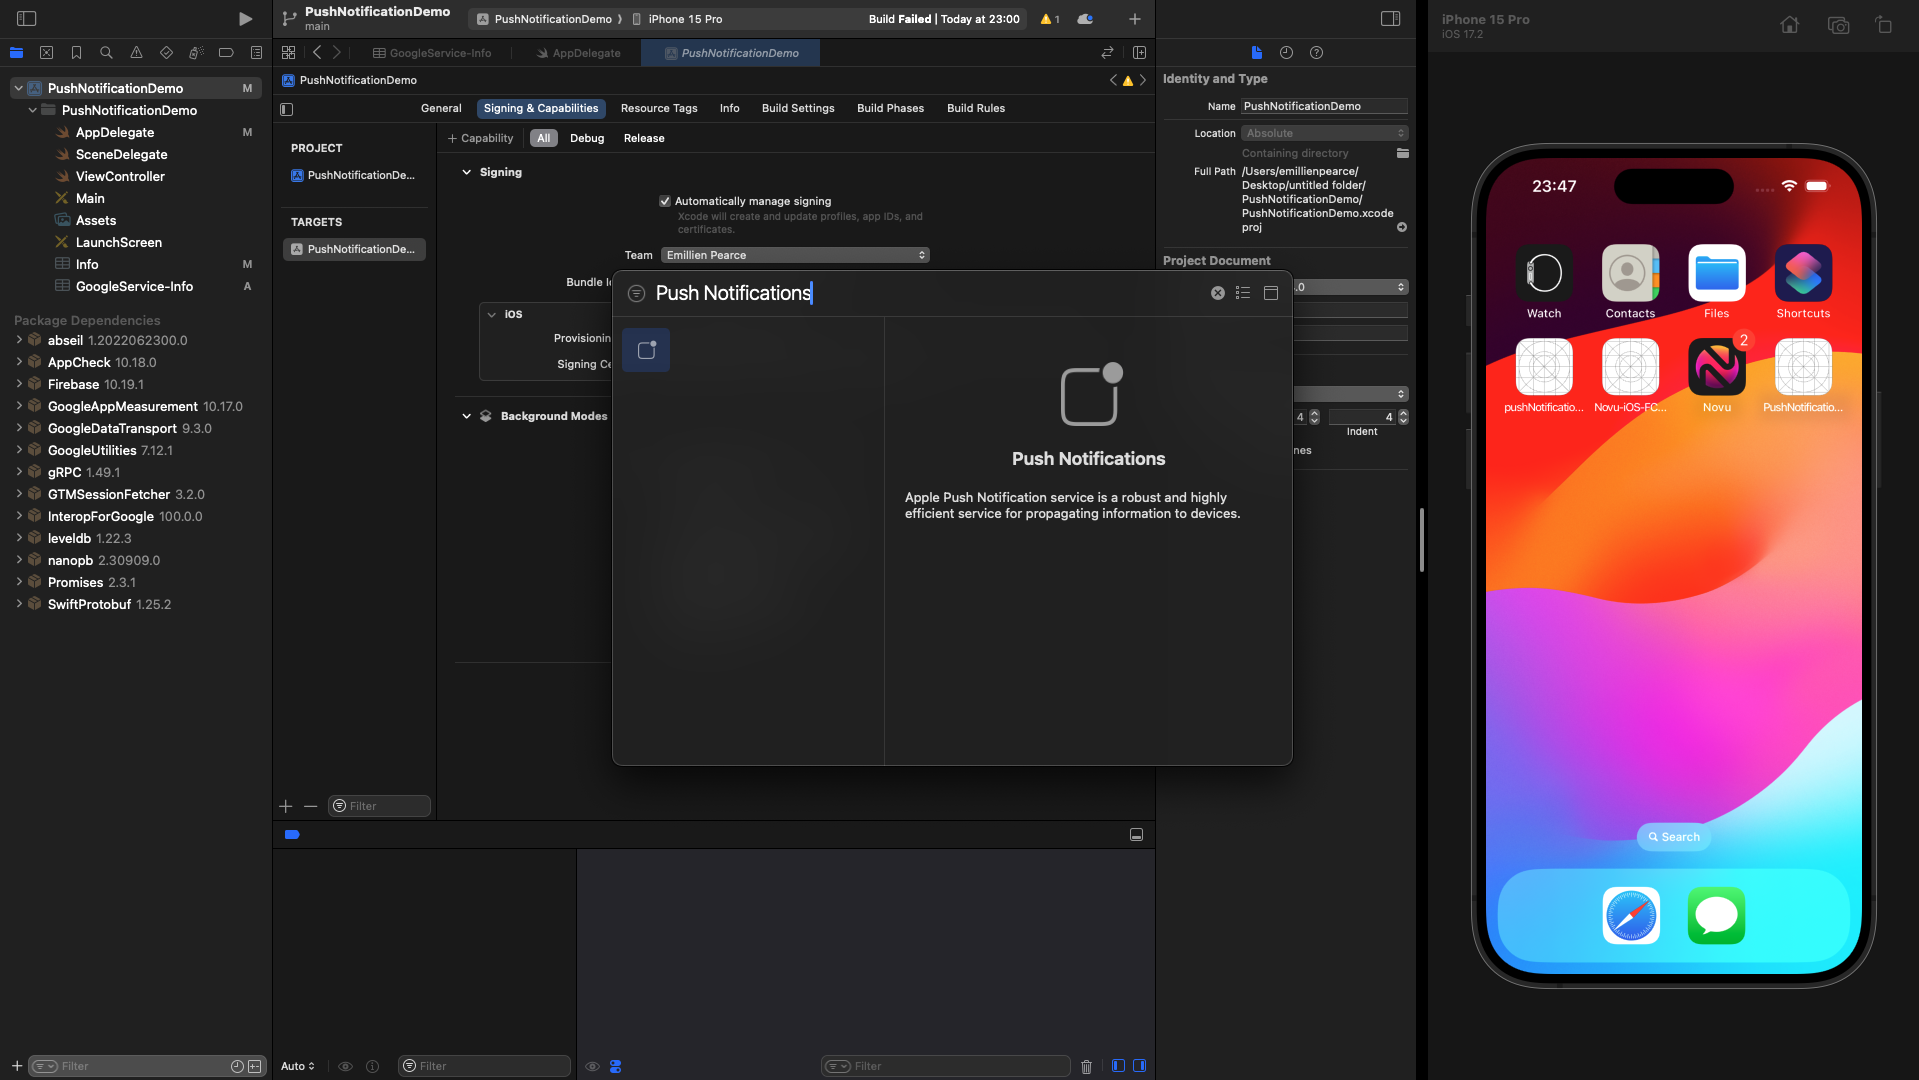
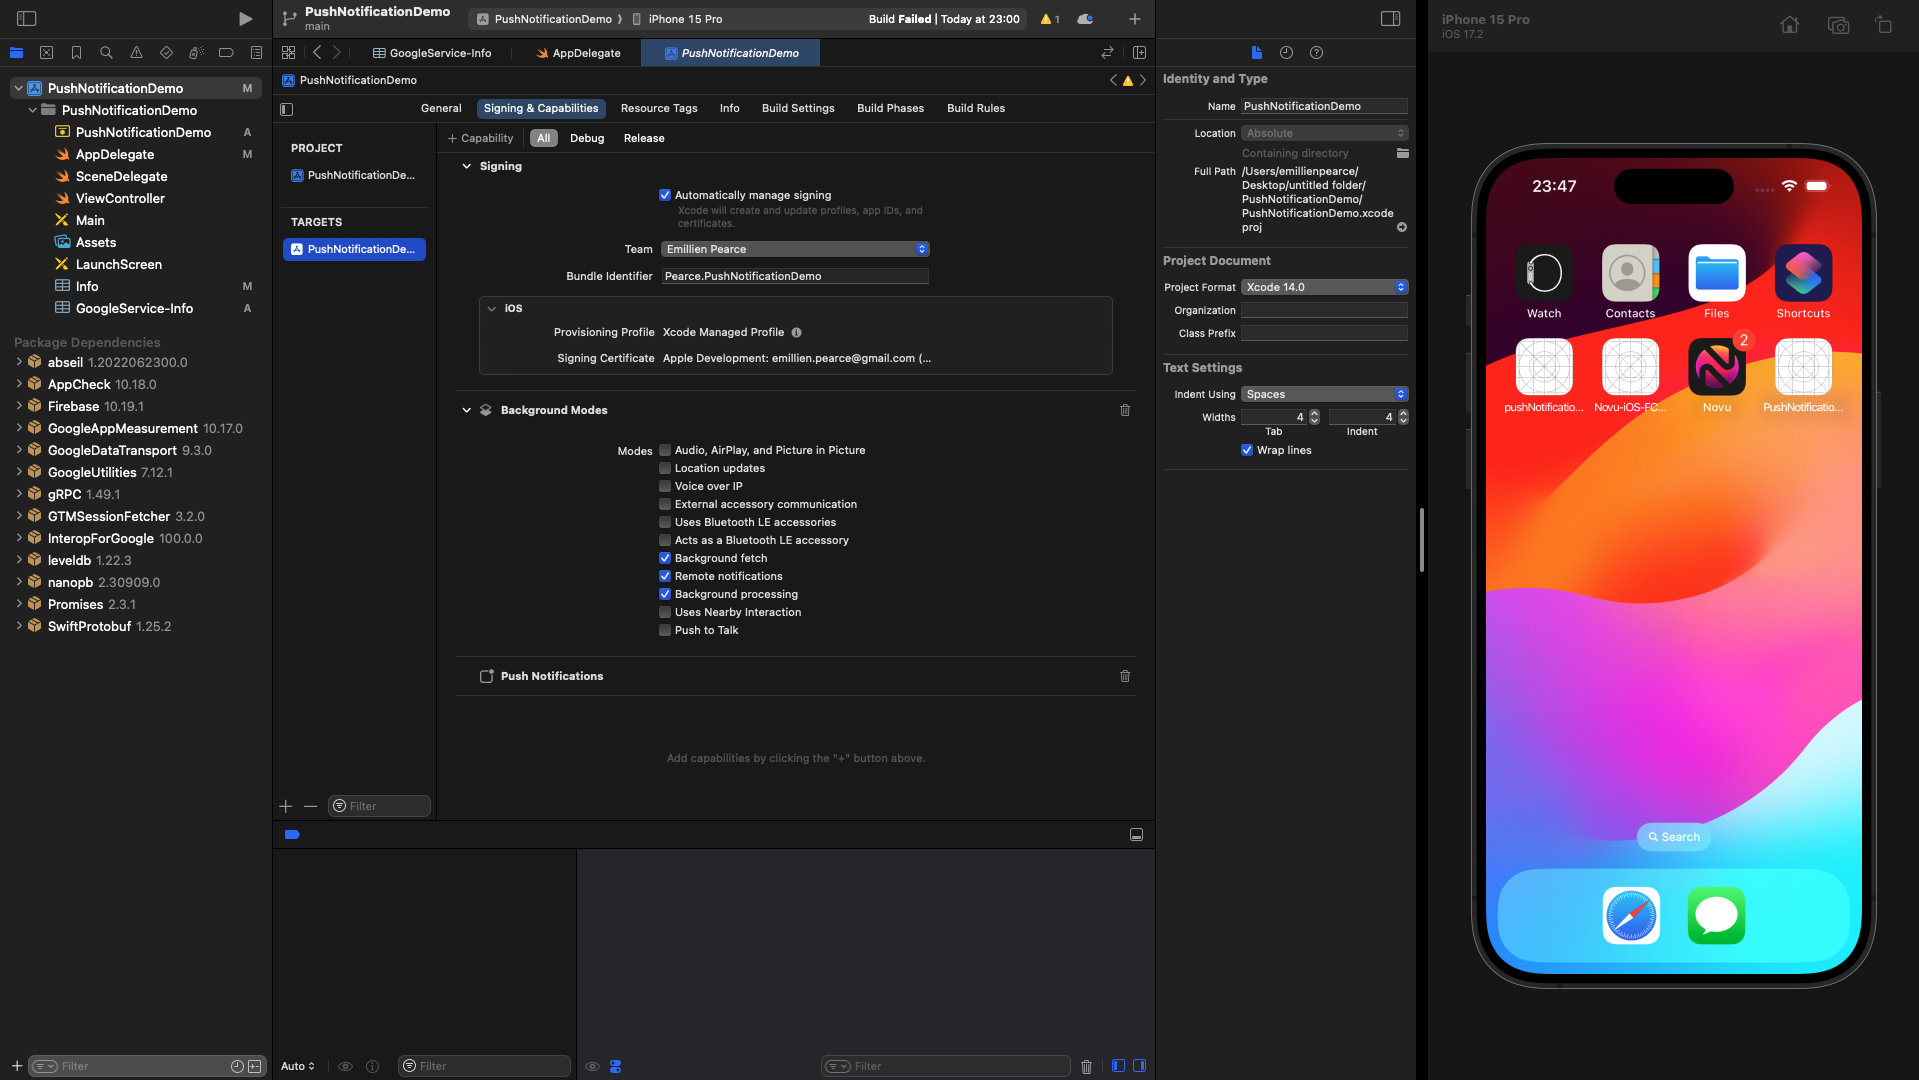
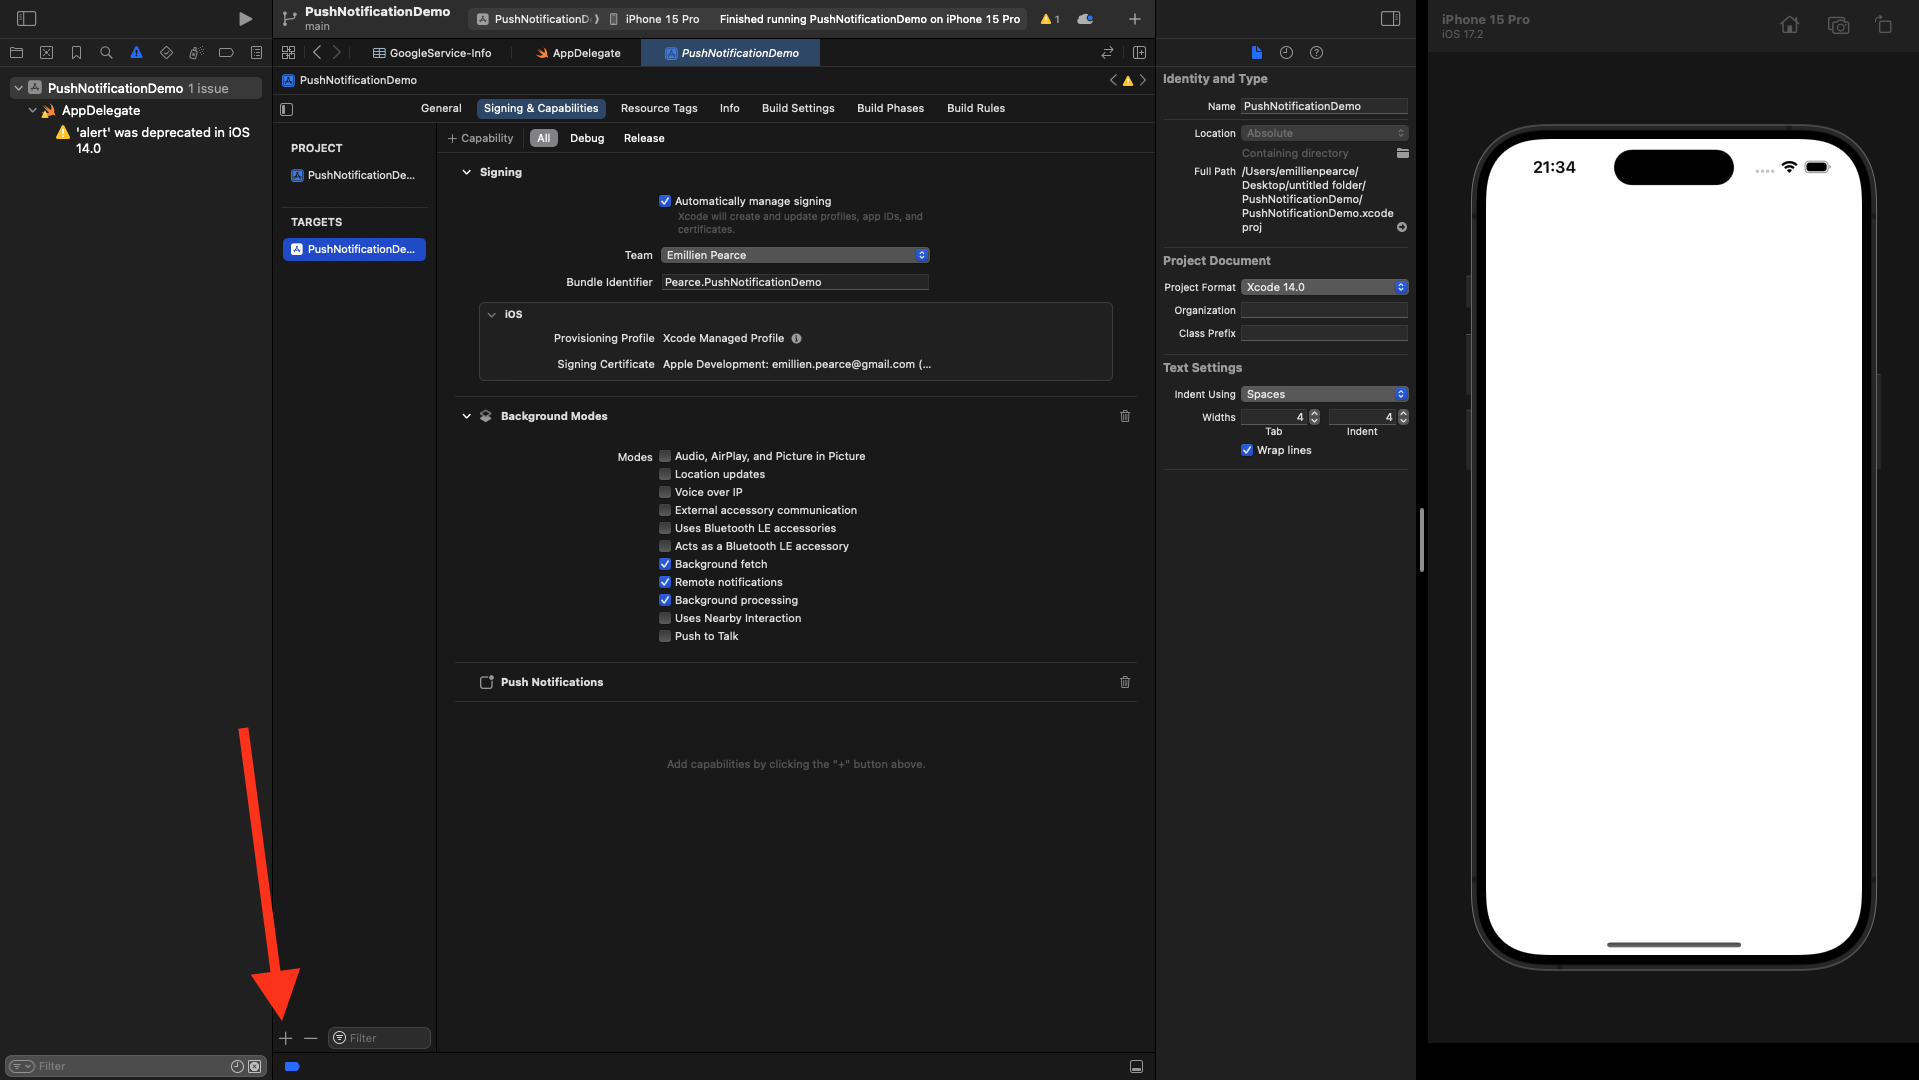
// Register for Remote Notitifcations
UNUserNotificationCenter.current().delegate = self
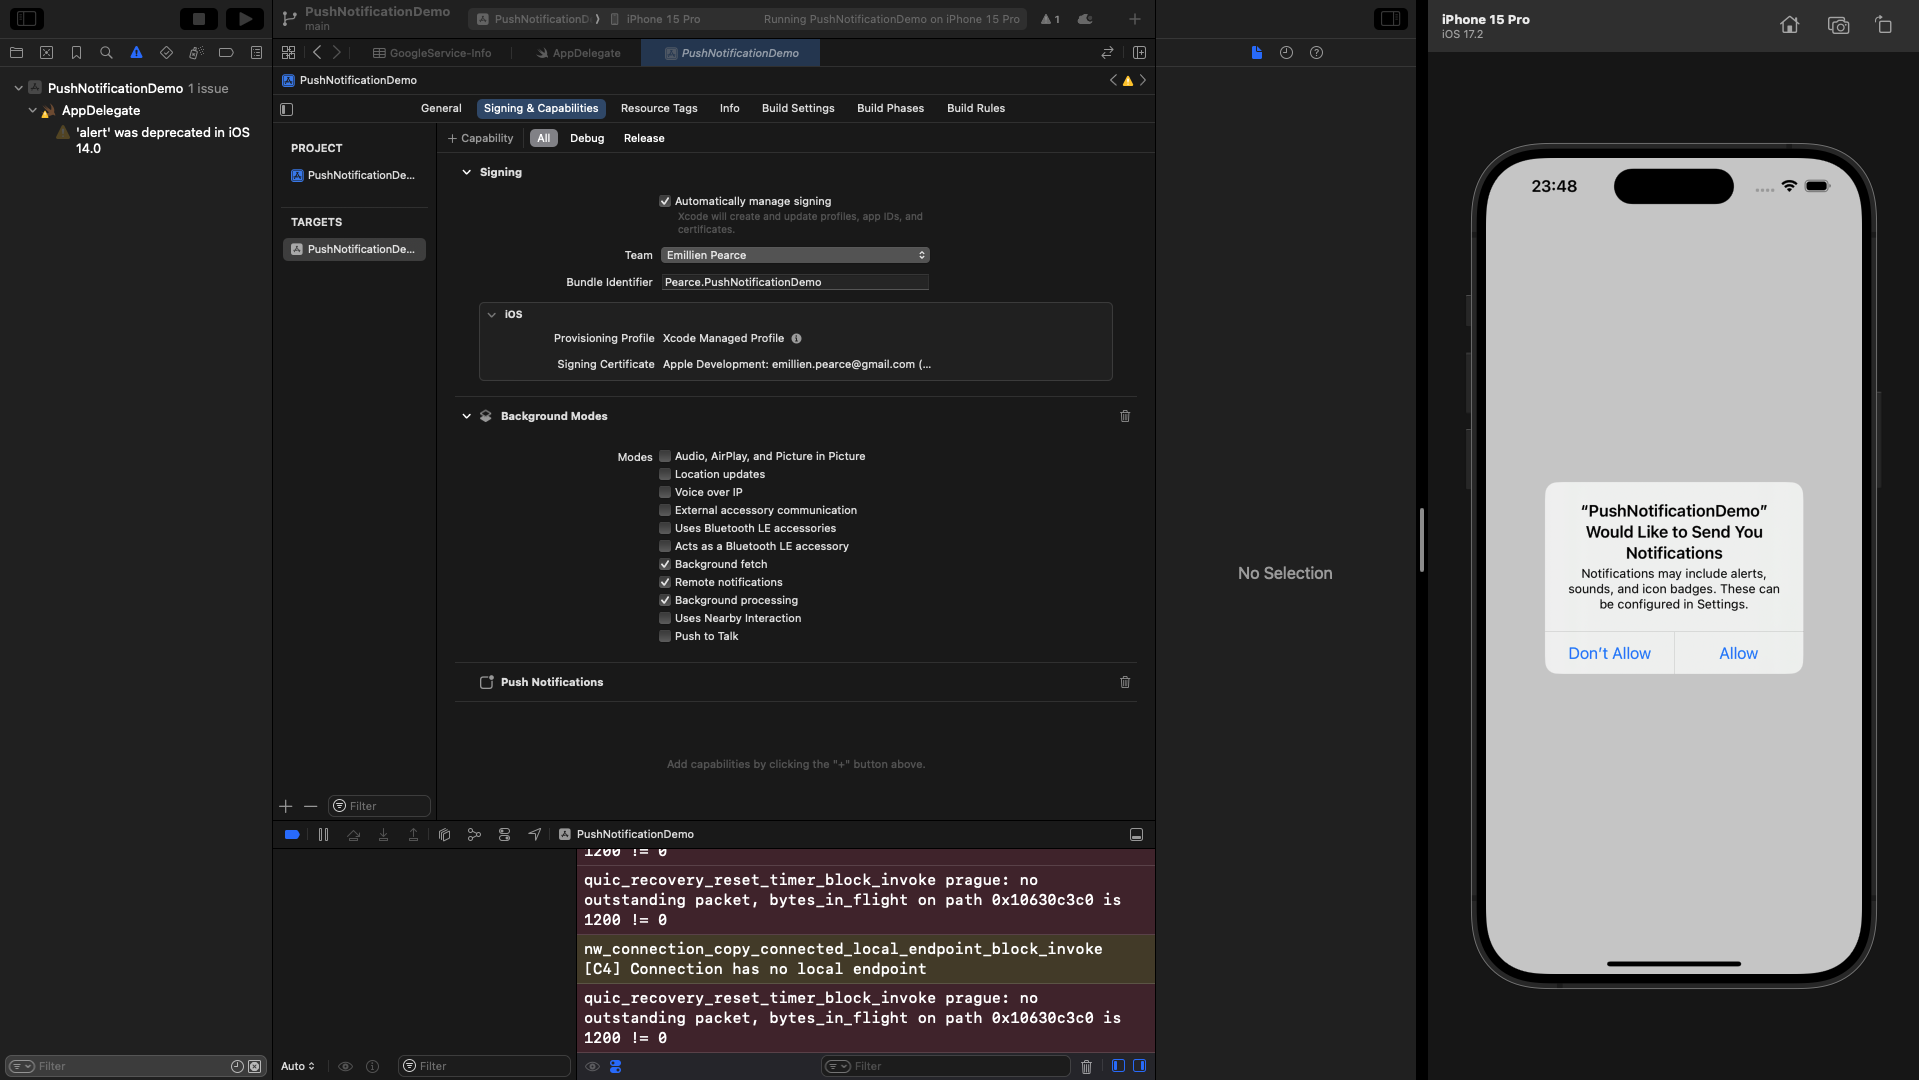
let authOptions: UNAuthorizationOptions = [.alert, .badge, .sound]
UNUserNotificationCenter.current().requestAuthorization(
options: authOptions,
completionHandler: { _, _ in }
)
application.registerForRemoteNotifications()
// Register notification category
let acceptAction = UNNotificationAction.accept
let rejectAction = UNNotificationAction.reject
let messageCategory = UNNotificationCategory(
identifier: "MESSAGE_CATEGORY",
actions: [acceptAction, rejectAction],
intentIdentifiers: [],
options: []
)
UNUserNotificationCenter.current().setNotificationCategories([messageCategory])
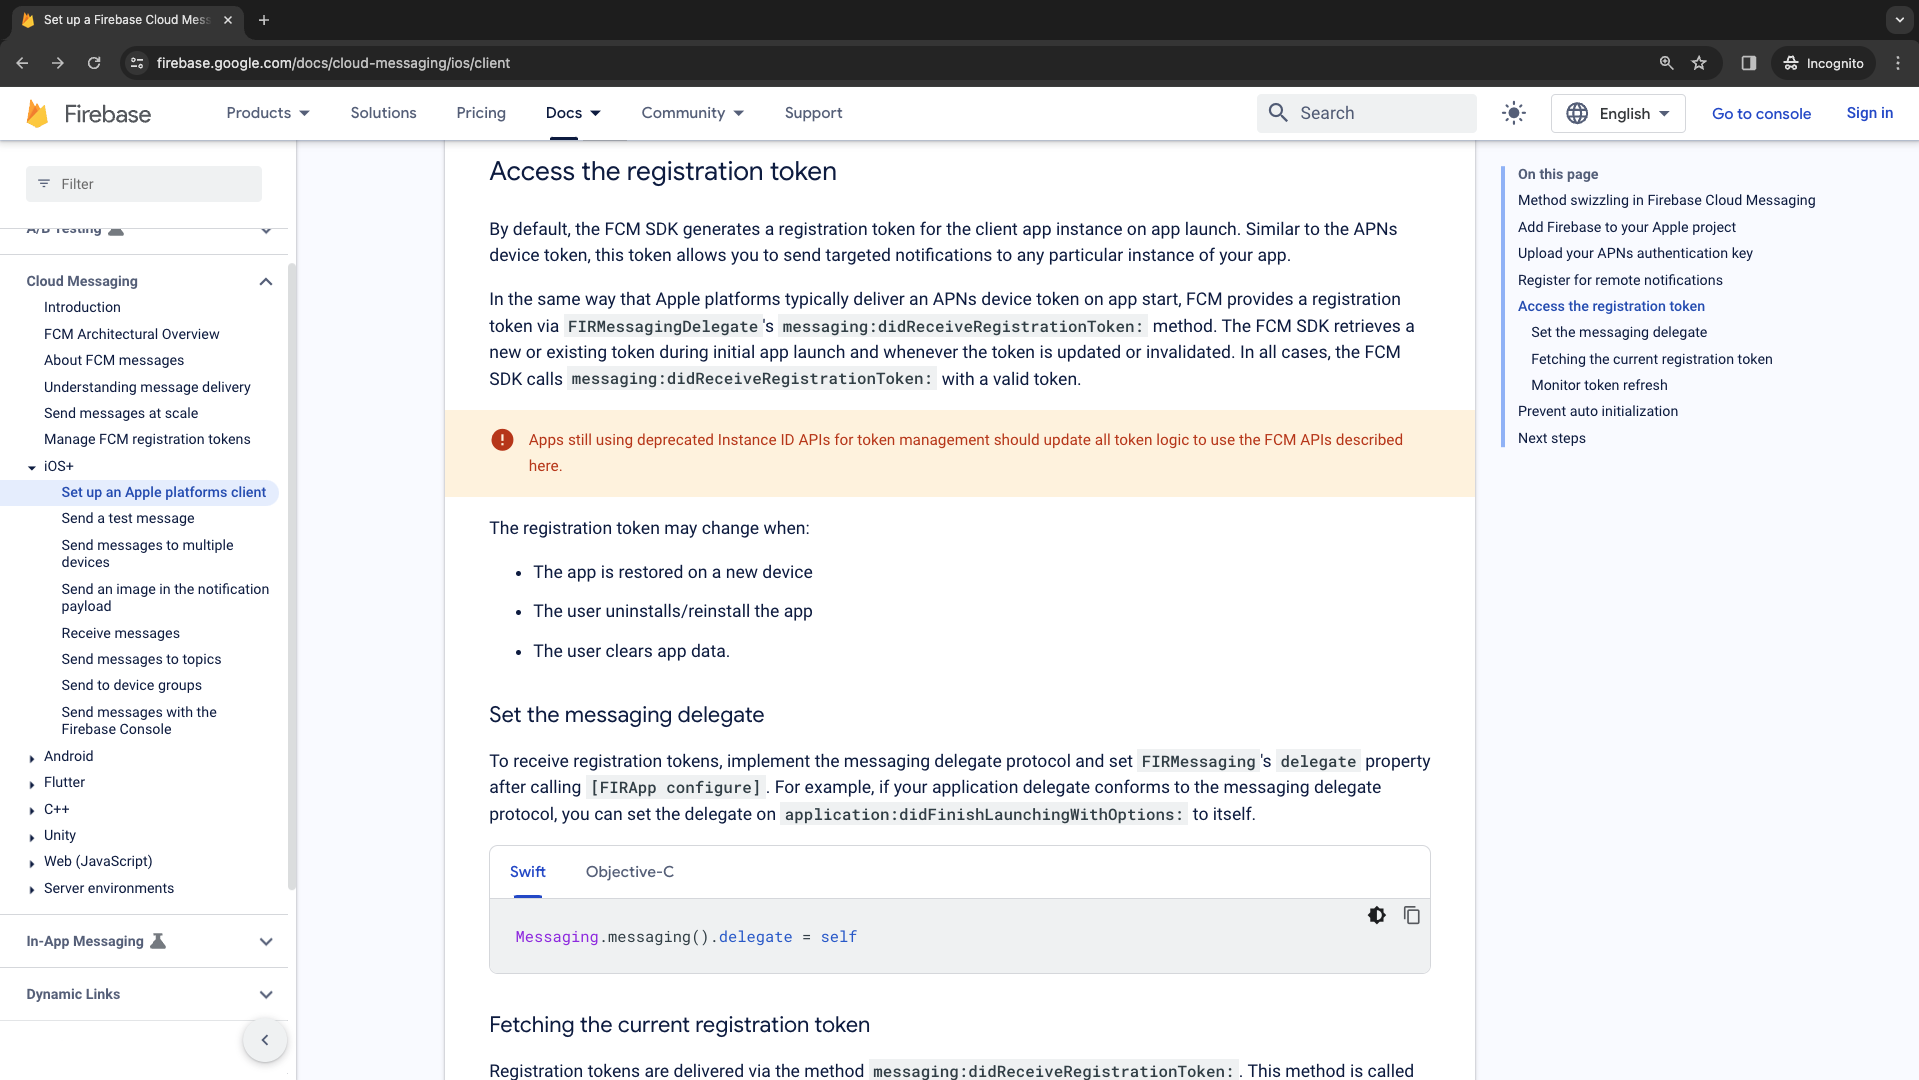
// Messaging Delegate
Messaging.messaging().delegate = self
return true
}
// MARK: UISceneSession Lifecycle
func application(_ application: UIApplication, configurationForConnecting connectingSceneSession: UISceneSession, options: UIScene.ConnectionOptions) -> UISceneConfiguration {
// Called when a new scene session is being created.
// Use this method to select a configuration to create the new scene with.
return UISceneConfiguration(name: "Default Configuration", sessionRole: connectingSceneSession.role)
}
func application(_ application: UIApplication, didDiscardSceneSessions sceneSessions: Set<UISceneSession>) {
// Called when the user discards a scene session.
// If any sessions were discarded while the application was not running, this will be called shortly after application:didFinishLaunchingWithOptions.
// Use this method to release any resources that were specific to the discarded scenes, as they will not return.
}
}
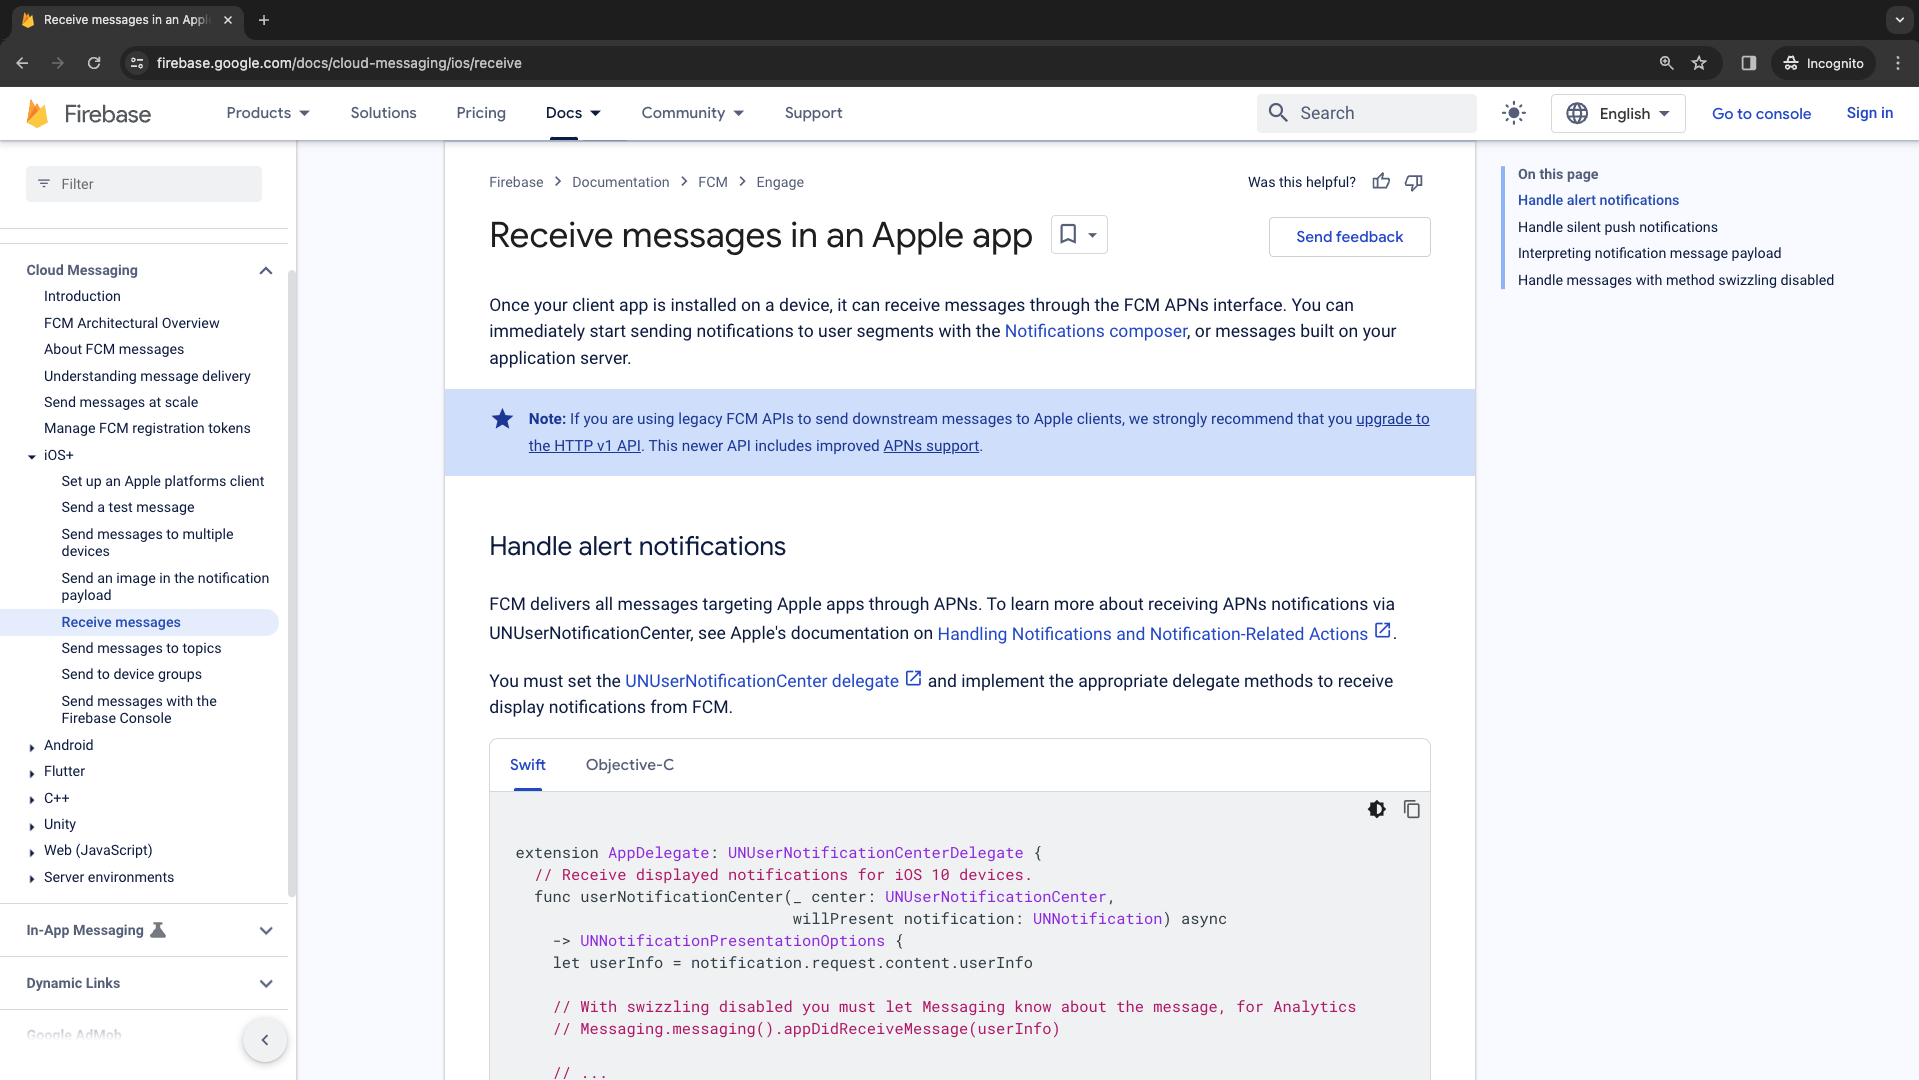
extension AppDelegate: UNUserNotificationCenterDelegate {
// Receive displayed notifications for iOS 10 devices.
func userNotificationCenter(_ center: UNUserNotificationCenter,
willPresent notification: UNNotification) async
-> UNNotificationPresentationOptions {
let userInfo = notification.request.content.userInfo
// With swizzling disabled you must let Messaging know about the message, for Analytics
// Messaging.messaging().appDidReceiveMessage(userInfo)
// ...
// Print full message.
print(userInfo)
// Change this to your preferred presentation option
return [[.alert, .sound]]
}
func userNotificationCenter(_ center: UNUserNotificationCenter,
didReceive response: UNNotificationResponse) async {
let userInfo = response.notification.request.content.userInfo
if response.actionIdentifier == UNNotificationAction.accept.identifier {
// Handle the "Accept" action
print("User tapped Accept")
// Perform the desired action for "Accept"
} else if response.actionIdentifier == UNNotificationAction.reject.identifier {
// Handle the "Reject" action
print("User tapped Reject")
// Perform the desired action for "Reject"
} else {
// Handle other actions or default behavior
print("User tapped an action with identifier: \(response.actionIdentifier)")
}
// ...
// With swizzling disabled you must let Messaging know about the message, for Analytics
// Messaging.messaging().appDidReceiveMessage(userInfo)
// Print full message.
print(userInfo)
}
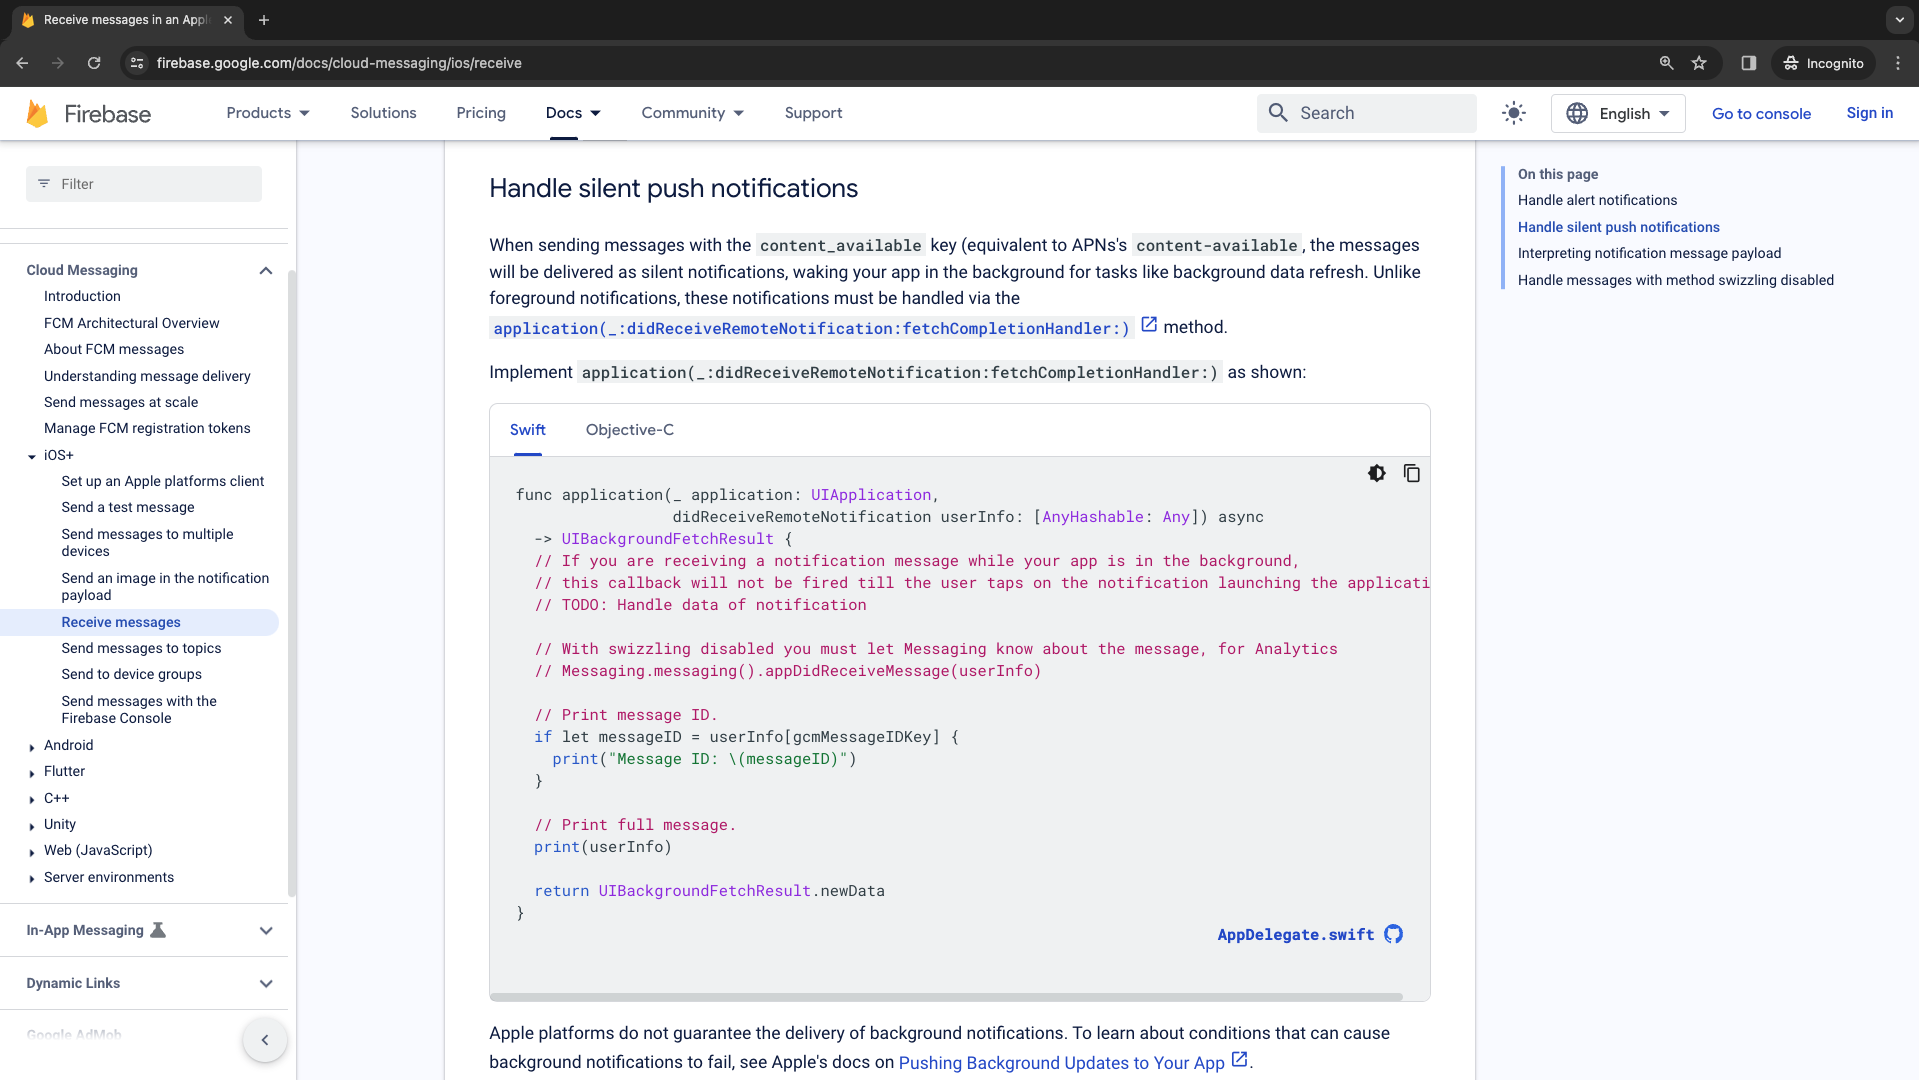
func application(_ application: UIApplication,
didReceiveRemoteNotification userInfo: [AnyHashable: Any]) async
-> UIBackgroundFetchResult {
// If you are receiving a notification message while your app is in the background,
// this callback will not be fired till the user taps on the notification launching the application.
// TODO: Handle data of notification
// With swizzling disabled you must let Messaging know about the message, for Analytics
// Messaging.messaging().appDidReceiveMessage(userInfo)
// Print message ID.
if let messageID = userInfo[gcmMessageIDKey] {
print("Message ID: \(messageID)")
}
// Print full message.
print(userInfo)
return UIBackgroundFetchResult.newData
}
}
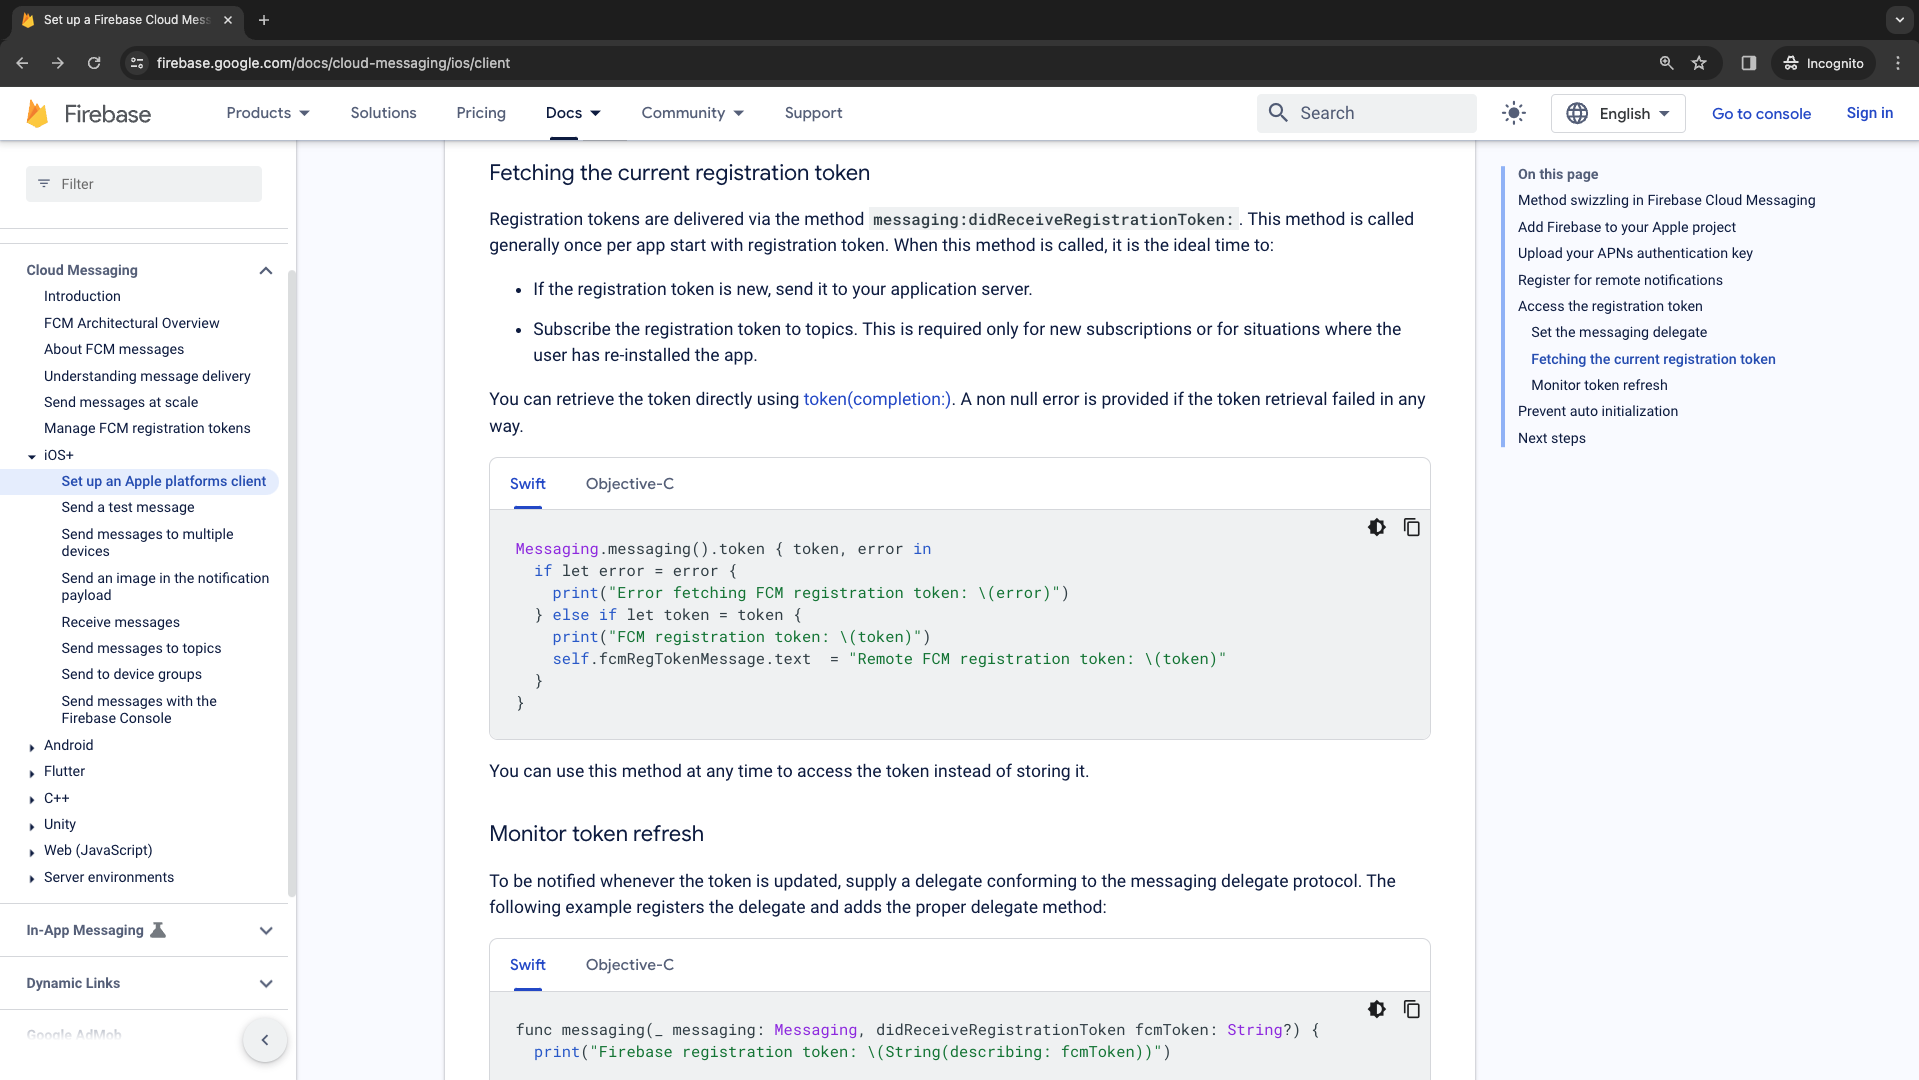
extension AppDelegate: MessagingDelegate {
func messaging(_ messaging: Messaging, didReceiveRegistrationToken fcmToken: String?) {
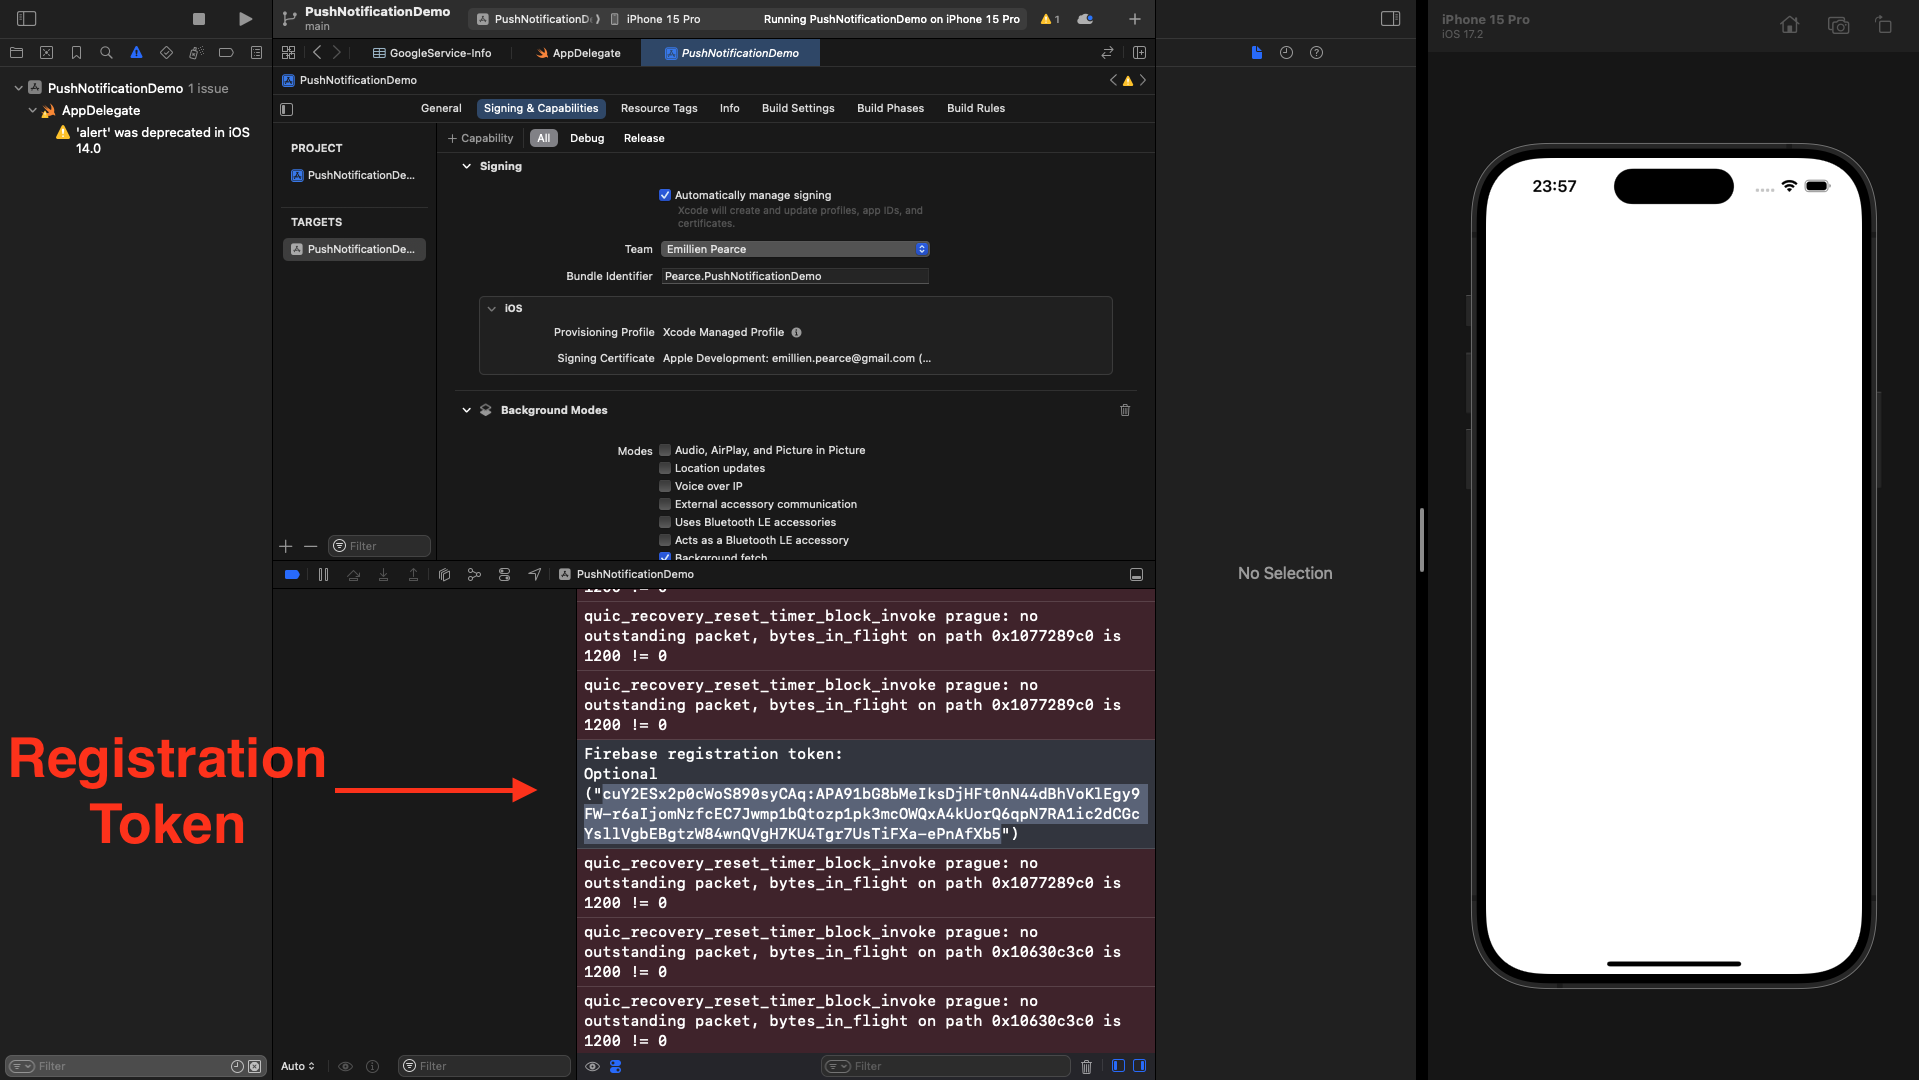
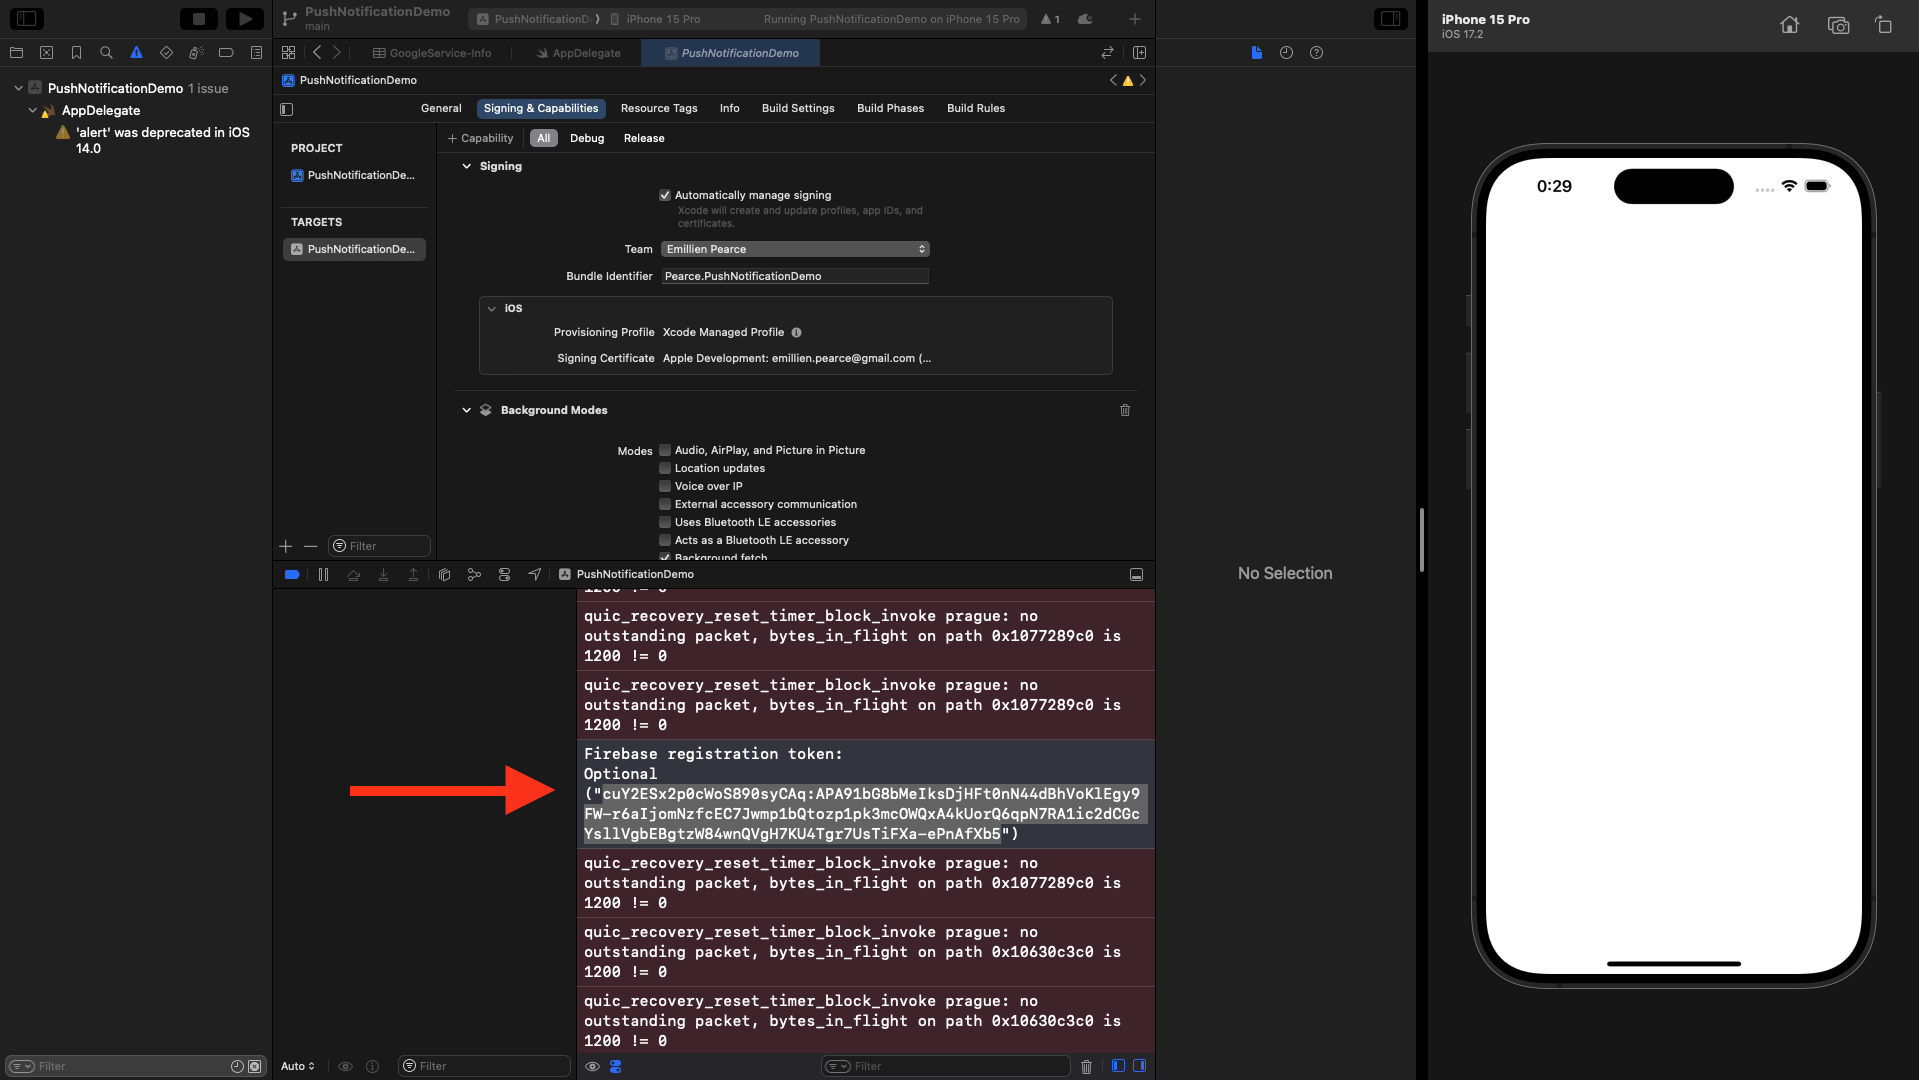
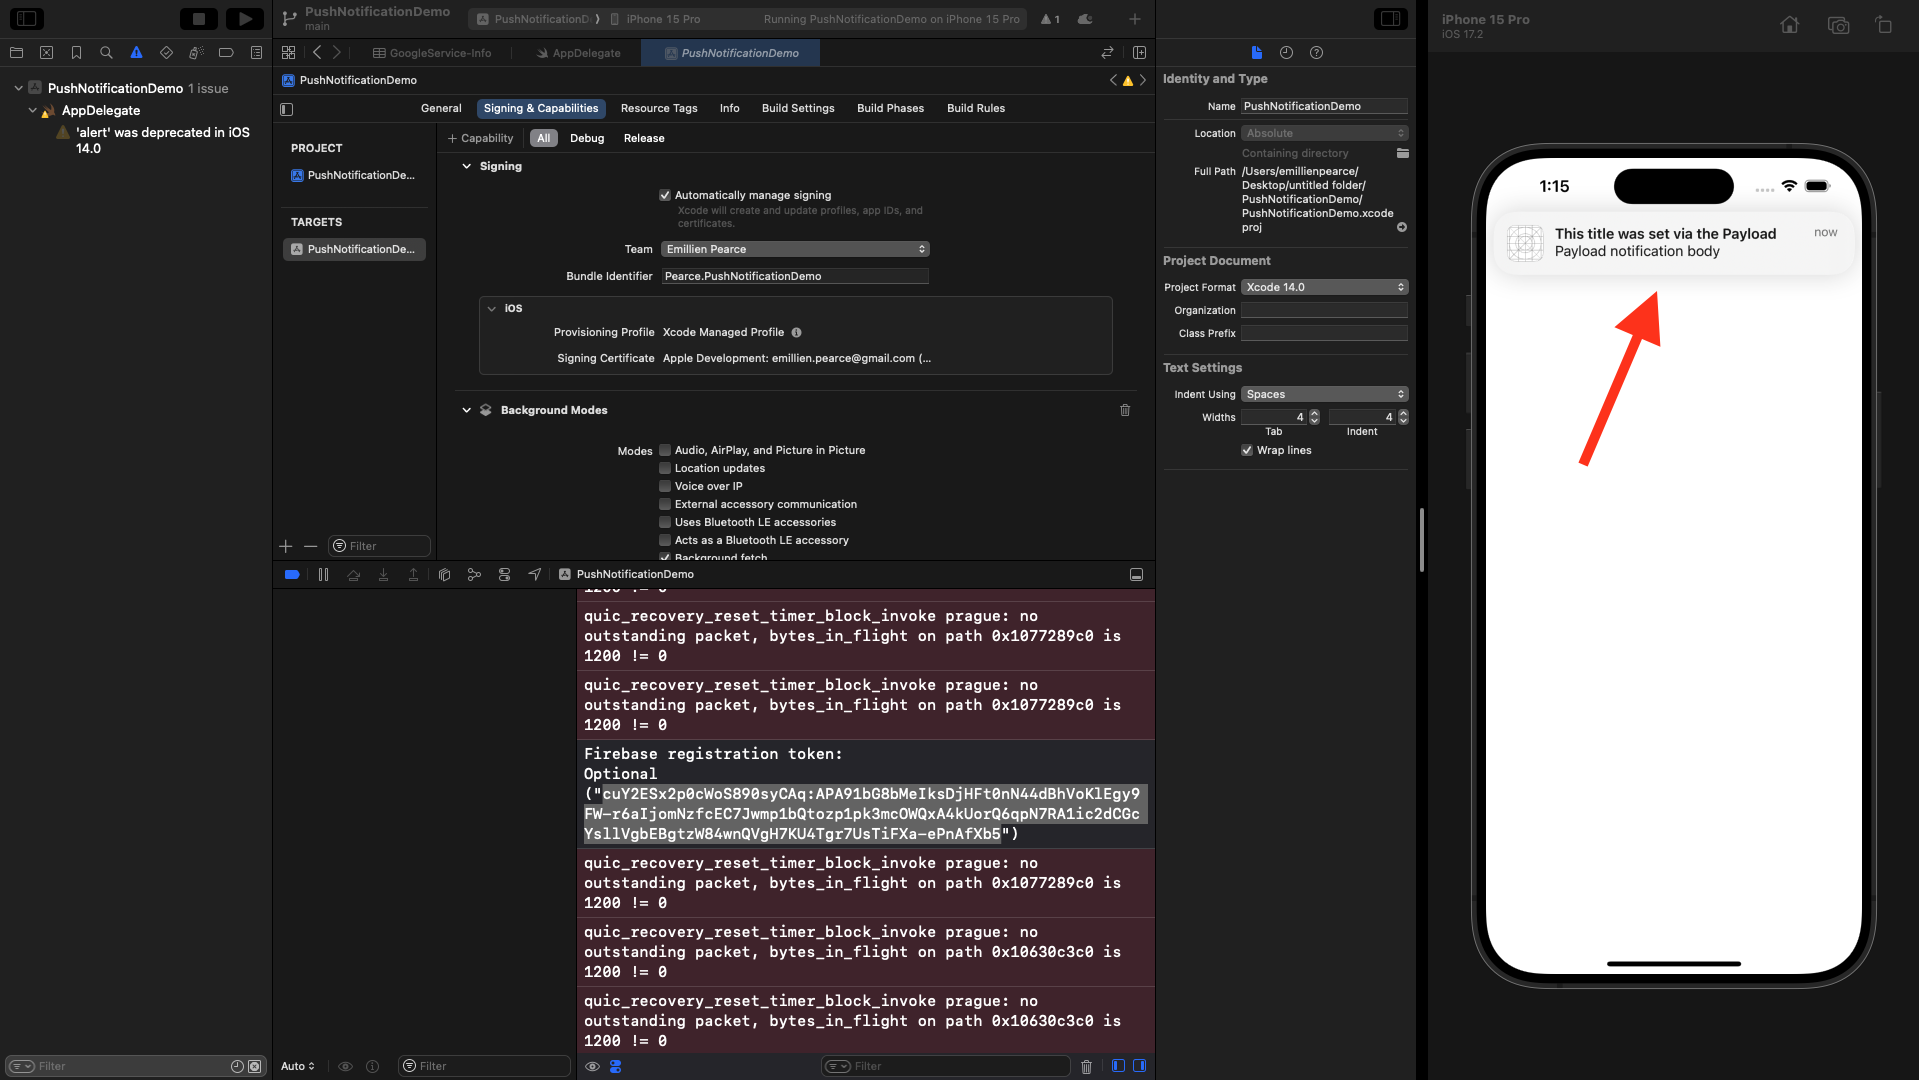
print("Firebase registration token: \(String(describing: fcmToken))")
let dataDict: [String: String] = ["token": fcmToken ?? ""]
NotificationCenter.default.post(
name: Notification.Name("FCMToken"),
object: nil,
userInfo: dataDict
)
// TODO: If necessary send token to application server.
// Note: This callback is fired at each app startup and whenever a new token is generated.
}
}
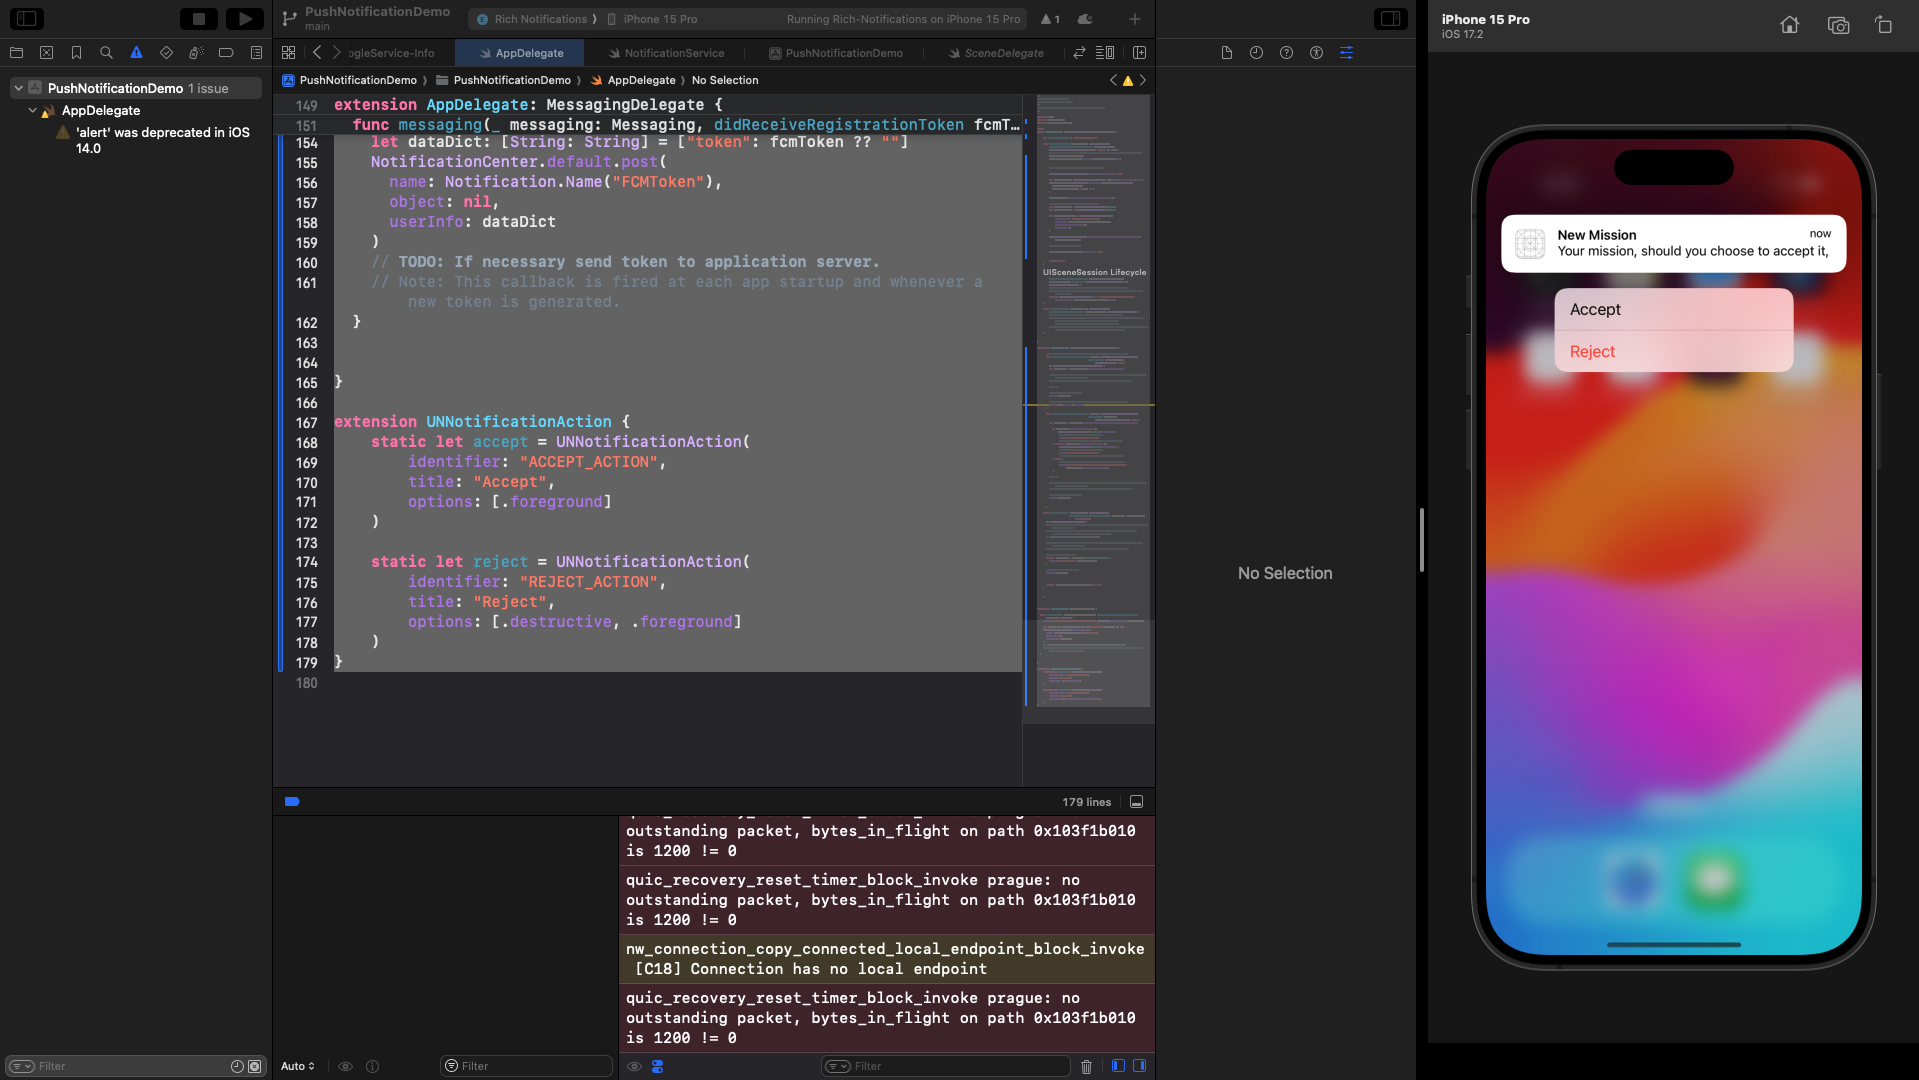
extension UNNotificationAction {
static let accept = UNNotificationAction(
identifier: "ACCEPT_ACTION",
title: "Accept",
options: [.foreground]
)
static let reject = UNNotificationAction(
identifier: "REJECT_ACTION",
title: "Reject",
options: [.destructive, .foreground]
)
}